
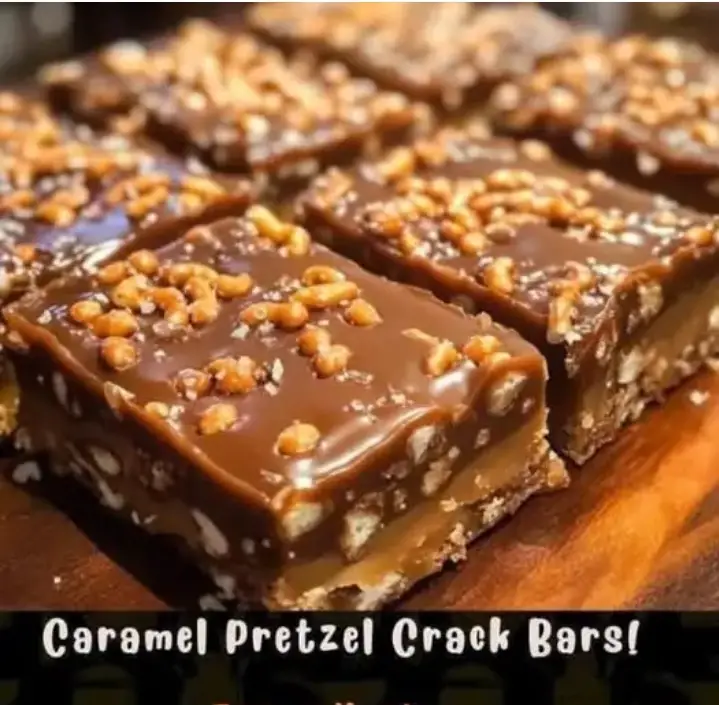
Caramel Pretzel Crack Bars: The Irresistible No-Bake Dessert That’ll Have Everyone Begging for More
Some recipes are so simple yet dangerously delicious that once you make them, they become a permanent part of your dessert rotation. Caramel Pretzel Crack Bars fall squarely into that category. With their buttery caramel base, salty-sweet pretzel crunch, and a thick layer of melted chocolate on top, these bars live up to their addictive nickname. One bite and you’ll understand why they’re called “crack” bars—because they’re impossible to resist.
This easy no-bake (well, nearly no-bake) treat is the perfect dessert for potlucks, parties, holidays, or late-night cravings. The preparation is quick, the ingredients are pantry staples, and the results are mind-blowingly good. Whether you’re an experienced baker or a complete novice, this recipe is nearly foolproof and guaranteed to impress.
What Makes These Bars So Addictive?
The magic of Caramel Pretzel Crack Bars lies in the combination of textures and flavors. You’ve got the crunchy, salty base of crushed pretzels, the rich, buttery caramel layer, and a smooth topping of semi-sweet melted chocolate. Add a sprinkle of sea salt on top, and you’ve hit every flavor note—salty, sweet, bitter, buttery—all in one bite.
The crack factor comes not only from the flavor but from the satisfying snap of the chocolate when chilled and the crunch of the caramelized pretzels beneath. These bars offer that elusive balance that keeps you coming back for just one more.
Ingredients in Detail
Let’s take a deeper look at the ingredients that make these bars such a success:
Crushed Pretzels – 2 cups
These form the salty, crispy base. You can crush them using a rolling pin inside a sealed plastic bag or pulse them briefly in a food processor. Don’t pulverize them into dust—you want small, crunchy bits for texture.
Unsalted Butter – 1 cup (2 sticks)
The base of the caramel layer. Using unsalted butter gives you control over the salt content, especially since the pretzels and optional sea salt already bring plenty of saltiness to the party.
Brown Sugar – 1 cup, packed
Brown sugar contains molasses, which enhances the richness of the caramel flavor and gives it that signature chewy texture.
Vanilla Extract – 1/2 teaspoon
Adds a hint of warmth and rounds out the sweetness.
Semisweet Chocolate Chips – 1 1/2 cups
These melt beautifully over the hot caramel and provide the final, glossy layer. You can substitute with milk or dark chocolate depending on preference.
Sea Salt (Optional) – for sprinkling
A pinch of flaky sea salt on top adds the final punch of contrast—perfect for those who love a sweet-and-salty treat.
Kitchen Tools You’ll Need
- 9×13-inch baking dish
- Parchment paper (for easy lifting and cleaner slicing)
- Saucepan
- Spatula or wooden spoon
- Spreading spatula (offset works great for chocolate)
- Rolling pin or food processor (to crush pretzels)
Step-by-Step Instructions
Step 1: Prepare the Pan
Preheat your oven to 350°F (175°C). Line a 9×13-inch baking dish with parchment paper, leaving a generous overhang on the sides. This allows for easy lifting later. Even though this is nearly a no-bake recipe, a short bake is required to set the caramel and pretzels.
Step 2: Create the Pretzel Base
Crush your pretzels into small pieces—not too fine, as you want the crunch. Spread the crushed pretzels evenly across the bottom of your prepared pan, creating a layer that will support the caramel.
Step 3: Make the Caramel Layer
In a medium saucepan over medium heat, melt the butter. Once melted, stir in the packed brown sugar. Stir constantly and let the mixture bubble gently for 2 to 3 minutes. You’re aiming for a smooth, golden caramel—not too dark, not grainy. Remove the pan from the heat and stir in the vanilla extract. Be careful—it may bubble up slightly.
Step 4: Pour Over Pretzels
Immediately pour the hot caramel mixture evenly over the crushed pretzels. Use a spatula to spread it across the top, making sure all pretzels are coated. Work quickly, as the caramel will begin to firm up.
Step 5: Bake Briefly
Place the baking dish in your preheated oven and bake for 10 to 12 minutes. You’re looking for bubbling, golden caramel. The brief bake helps set the caramel and gives the bars that toffee-like chewiness.
Step 6: Add the Chocolate
Remove the pan from the oven and immediately sprinkle the chocolate chips over the hot caramel. Let them sit for 3 to 5 minutes. The heat from the caramel will melt the chocolate. Then, use a clean spatula to spread the melted chocolate evenly across the surface.
Step 7: Optional Salt Finish
If desired, sprinkle flaky sea salt over the top of the melted chocolate. This optional step enhances the flavor contrast and adds gourmet appeal.
Step 8: Cool and Set
Allow the bars to cool at room temperature until the chocolate is firm. You can speed up the process by placing the pan in the refrigerator for about 30 minutes. Once the bars are completely set, lift them out of the pan using the parchment paper and place them on a cutting board.
Step 9: Slice and Serve
Cut the bars into squares or rectangles of your desired size. They slice best when cold, using a sharp knife wiped clean between cuts. Store them in an airtight container at room temperature for 3–4 days or in the refrigerator for longer shelf life.
Tips for Perfect Bars Every Time
- Don’t overcook the caramel: You only need a few minutes of bubbling to reach the right consistency. Overcooking can lead to a harder, brittle texture.
- Work quickly: When spreading the caramel and chocolate, act fast. Both layers set up fairly quickly.
- Use parchment paper: Don’t skip it. It makes removal and cleanup significantly easier.
- Chill before slicing: For neat, clean cuts, chill the bars fully and use a sharp knife.
- Make it yours: Try variations with different chips—white chocolate, peanut butter, or even chopped toffee bars.
Customization Ideas
The beauty of this recipe is its versatility. Here are some fun twists to try:
- Add nuts: Sprinkle chopped pecans or almonds over the chocolate layer before it sets.
- Mix in peanut butter chips: For an added dimension of flavor.
- Use graham crackers or Ritz crackers: In place of pretzels for a different texture and flavor base.
- Add a swirl: Drizzle melted peanut butter or caramel over the chocolate and swirl it for a marbled effect.
- Holiday version: Add crushed peppermint candies or red and green sprinkles for a festive touch.
Serving Suggestions
These bars are perfect for:
- Bake sales
- Potlucks
- Lunchbox treats
- Holiday trays
- Game day snacks
- Midnight indulgence
Serve them alone, or alongside a scoop of vanilla ice cream for a decadent dessert.
Storage and Shelf Life
Store the bars in an airtight container at room temperature for up to 3–4 days. If you live in a warm climate or prefer a firmer chocolate top, keep them refrigerated. They’ll last up to a week in the fridge. You can also freeze them for up to 2 months. Layer parchment paper between layers to prevent sticking. Thaw at room temperature before serving.
Nutritional Information (Per Serving – Approximate)
- Calories: 220 kcal
- Carbohydrates: 28g
- Sugar: 19g
- Fat: 12g
- Saturated Fat: 7g
- Protein: 2g
- Fiber: 1g
- Sodium: 190mg
Note: These are estimates and may vary based on the specific brands and portion sizes used.
Final Thoughts
Caramel Pretzel Crack Bars are the perfect combination of ease and indulgence. With minimal ingredients, simple steps, and showstopping flavor, they offer everything you want in a dessert. Whether you’re baking for a special occasion or simply craving something sweet, these bars deliver. Keep a batch in your freezer, bring them to your next gathering, or gift them in holiday tins—they’re always a hit.
No matter how you slice them, one thing’s for sure: these bars are dangerously delicious. Make them once, and they’ll become a go-to treat for every sweet tooth occasion.