
Welcome to your new favorite dessert obsession! These Butterfinger Balls are a spectacularly simple yet incredibly delicious no-bake treat that combines the iconic crispy, peanut-buttery crunch of Butterfinger candy with a luxuriously creamy center, all enveloped in a rich, smooth shell of semi-sweet chocolate. They are the perfect bite-sized indulgence for parties, holiday platters, gift-giving, or simply satisfying a serious sweet tooth. With just a handful of ingredients and no oven required, this recipe is foolproof and fun to make, promising gourmet results that will impress everyone. Let’s dive in and create some magic!
The Story Behind The Bite: A Treat Born of Genius
While the exact origin of the “candy bar ball” is a happy mystery of home baking innovation, this recipe is a testament to culinary creativity. It takes a beloved American classic—the Butterfinger bar, with its uniquely flaky and crunchy texture—and transforms it into an elegant, truffle-like confection. This recipe likely evolved from the popular “cake pop” trend, where bakers discovered that crumbling a baked good and binding it with cream cheese created a perfect, dip-able mixture. Applying that genius to candy bars opened up a world of possibilities, and the Butterfinger Ball, with its perfect balance of crisp and cream, stands tall as one of the very best iterations.
Why You’ll Absolutely Love This Recipe
· Unbeatable Texture: Experience the incredible contrast between the crisp, crunchy candy interior and the smooth, snappy chocolate shell.
· No Baking Required: Perfect for hot summer days or when you need an impressive dessert without turning on the oven.
· Incredibly Easy: With just a few simple steps, this recipe is accessible for bakers of all skill levels, including beginners and kids.
· Crowd-Pleasing Favorite: The familiar, nostalgic flavor of Butterfinger makes these irresistible to both kids and adults.
· Perfect for Gifting: Package these in a cute box or tin for a heartfelt and homemade gift that everyone will adore.
Ingredients: Deconstructing the Deliciousness
Each ingredient in this simple list plays a critical role in building the perfect texture and flavor. For the best results, use full-fat, block-style cream cheese.
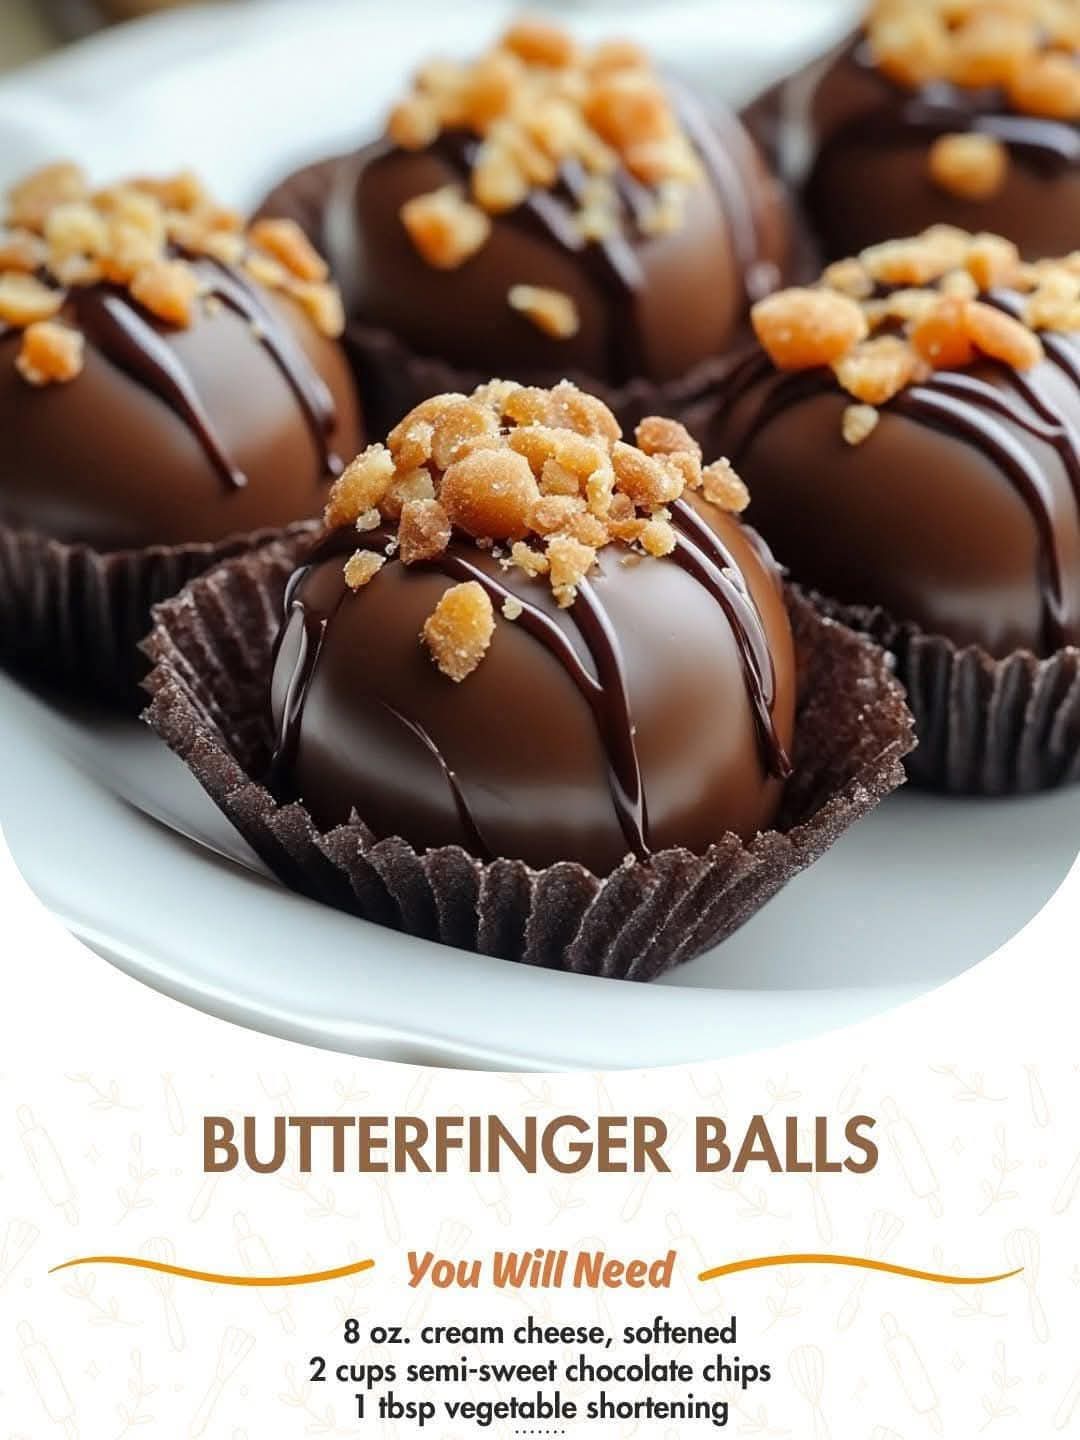
· 8 oz. cream cheese, softened: This is the binding agent that gives the balls their creamy, rich base and a slight tang that cuts the sweetness. Crucially important: It MUST be softened to room temperature to ensure a smooth, lump-free mixture that’s easy to roll.
· 2 cups crushed Butterfinger candy bars (about 16 fun-sized bars): The star of the show! This provides the signature flavor and that iconic, “crispety, crunchety” texture. For best results, crush them into a mix of fine crumbs and tiny pieces.
· 2 cups semi-sweet chocolate chips: Semi-sweet chocolate provides the perfect bitter-sweet balance to the very sweet filling, creating a harmonious flavor profile.
· 1 tbsp vegetable shortening (optional): This is a pro tip for a flawlessly smooth and glossy chocolate coating. It thins the chocolate just enough for easy dipping without altering the taste.
· Optional: Butterfinger or chocolate sprinkles for decoration: A festive finish that adds visual appeal and an extra bit of crunch.
Kitchen Tools You’ll Need
· Large mixing bowl
· Hand mixer or sturdy spatula
· Baking sheet
· Parchment paper or a silicone baking mat
· Microwave-safe bowl (for chocolate)
· Fork or dipping tools
· Measuring cups
Step-by-Step Instructions: Crafting Perfection
- Mix Ingredients: In a large bowl,combine the 2 cups of finely crushed Butterfinger bars and the 8 oz. of softened cream cheese. Using a hand mixer on medium speed or a sturdy spatula, blend the two together until the mixture is completely smooth, uniform, and no streaks of cream cheese remain. This should take about 1-2 minutes with a mixer. Scrape down the sides of the bowl to ensure everything is incorporated. The mixture will be thick and hold its shape.
- Form Balls: Line a baking sheet with parchment paper.Using a small cookie scoop (for uniformity) or a tablespoon, portion out the mixture. Roll each portion between your palms to form a smooth, round, 1-inch ball. Place each finished ball on the prepared baking sheet. Once all the mixture has been rolled, place the entire baking sheet in the refrigerator for at least 30 minutes. This chilling step is non-negotiable—it firms up the balls, making them much easier to dip and preventing them from falling apart in the warm chocolate.
- Melt Chocolate: In a clean,dry microwave-safe bowl, combine the 2 cups of semi-sweet chocolate chips and the 1 tablespoon of vegetable shortening (if using). Microwave on high for 30 seconds. Remove the bowl and stir well. Return to the microwave and heat in subsequent 15-second intervals, stirring vigorously after each interval, until the chocolate is completely melted, smooth, and glossy. Be careful not to overheat, as chocolate can burn easily. This gradual method ensures perfect, tempered chocolate for dipping.
- Dip Balls: Remove the chilled Butterfinger balls from the refrigerator.Working with one ball at a time, drop it into the bowl of melted chocolate. Use a fork or a dipping tool to gently roll it around, ensuring it is completely and evenly coated. Lift the ball out with the fork, allowing any excess chocolate to drip back into the bowl. Gently place the chocolate-coated ball back onto the parchment-lined baking sheet. If desired, immediately sprinkle with decorative sprinkles or extra crushed Butterfinger before the chocolate sets. Repeat with all remaining balls.
- Set and Enjoy: Allow the chocolate coating to set completely.You can leave them at room temperature for about 1-2 hours, or for a faster set, place the entire baking sheet back in the refrigerator for 15-20 minutes. The chocolate shell will become firm and snappy. Once set, transfer to an airtight container.
Expert Tips for Success
· Crushing the Candy: For the best texture, place the fun-sized Butterfinger bars in a large zip-top bag and use a rolling pin to crush them. You can also pulse them in a food processor, but be careful not to turn them into a fine powder; a variety of small pieces and crumbs is ideal.
· Clean Hands Tip: If the mixture is sticking to your hands while rolling, lightly dampen your palms with water. This will prevent sticking without adding extra moisture to the balls.
· Smooth Dipping: If your melted chocolate starts to thicken as you work, you can microwave it for another 5-10 seconds to loosen it up again.
· Storage: Store finished Butterfinger Balls in an airtight container in the refrigerator for up to one week. They can also be frozen for up to 3 months. Simply thaw in the refrigerator before serving.
Description & Serving Suggestions
The final product is a masterpiece of texture and taste. As you bite through the firm, snappy shell of semi-sweet chocolate, your teeth sink into a cool, creamy, and intensely crunchy center that bursts with the nostalgic, buttery, peanut-buttery flavor of Butterfinger. The contrast is utterly divine.
Arrange these beauties on a elegant platter for your next party. Package them in decorative boxes lined with parchment paper for a thoughtful homemade gift during the holidays. They are also the perfect elevated treat for bake sales, potlucks, or as a special movie-night snack.
Nutritional Information
(Please note: This is an estimate and can vary based on specific ingredients used.)
· Serving Size: 1 ball (recipe makes approximately 30-35 balls)
· Calories: ~120 kcal
· Total Fat: 8g
· Saturated Fat: 4.5g
· Cholesterol: 10mg
· Sodium: 45mg
· Total Carbohydrates: 12g
· Sugars: 10g
· Protein: 1.5g
Conclusion: A Simple Recipe for Pure Joy
These Butterfinger Balls are more than just a dessert; they are a guaranteed smile-inducer. This recipe proves that you don’t need complicated techniques or a long list of ingredients to create something truly special and memorable. The process is enjoyable, the result is stunning, and the taste is nothing short of phenomenal.
My Final Recommendation
If you are looking for a no-fuss, high-reward recipe that will make you look like a pastry pro, this is it. I highly recommend doubling the batch—they disappear astonishingly fast! The combination of creamy, crunchy, and chocolatey is a universal crowd-pleaser that never fails to delight.
Embracing Healthful Indulgence
While these treats are undoubtedly an indulgence, the philosophy of “healthful indulgence” is about mindfully enjoying the foods you love without guilt. Baking and creating treats at home allows you to control the quality of ingredients and portion sizes. A single, perfectly portioned Butterfinger Ball is a wonderful way to satisfy a sweet craving completely. Savor it slowly, appreciate the complex textures and flavors, and share the rest with friends and family to spread the joy. Balance is key, and there is always room for a little homemade happiness in a balanced lifestyle.