
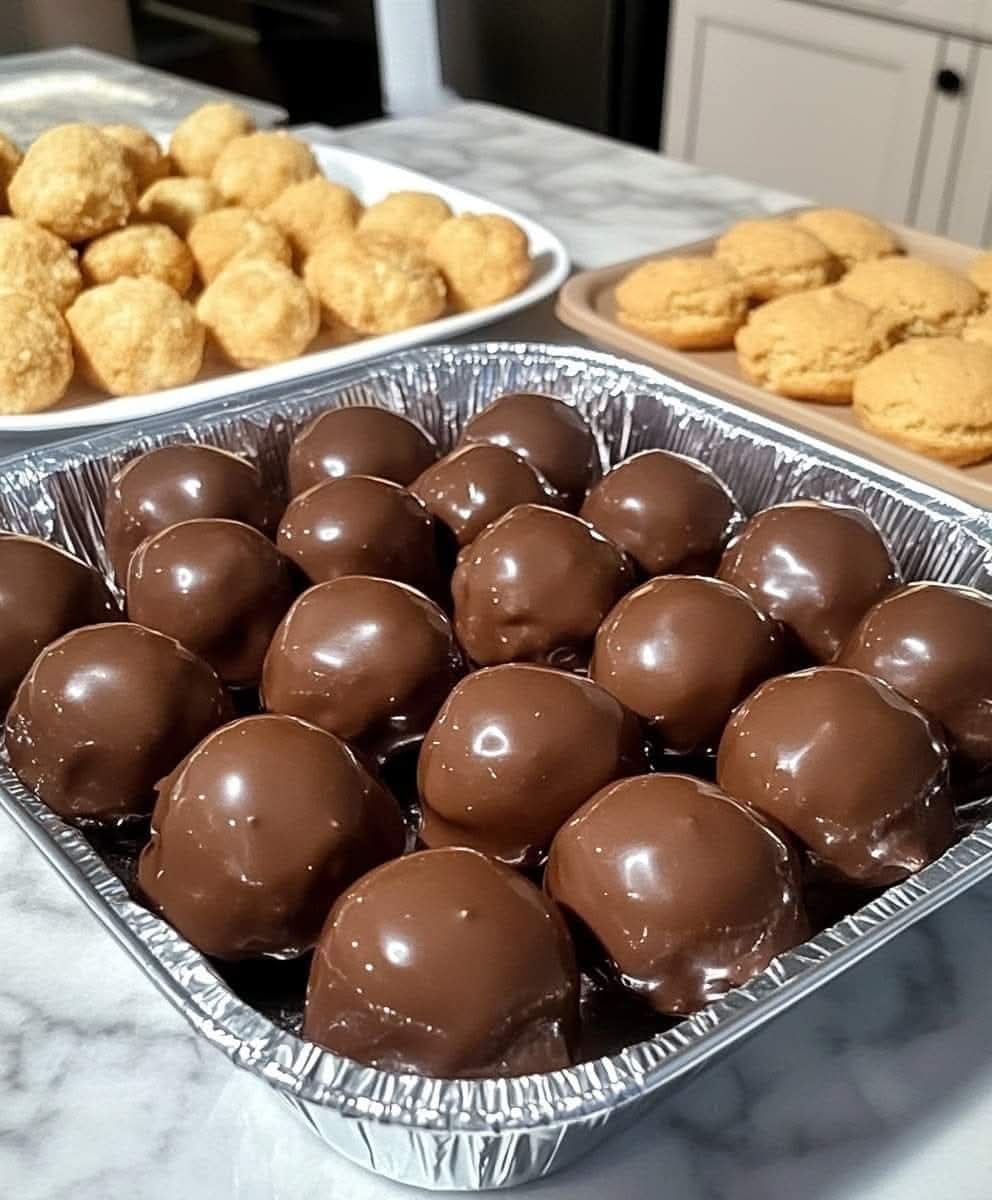
The search for the perfect, easy-to-make dessert that delights both children and adults alike inevitably leads to one timeless treat: the Peanut Butter Ball. This no-bake confection represents the pinnacle of simple indulgence, combining a creamy, sweet peanut butter center with a rich, crisp chocolate coating in a single, bite-sized package. Their irresistible texture and flavor have secured their place on holiday cookie trays, at party platters, and in lunchboxes for generations. This comprehensive guide will not only walk you through the classic recipe but will also delve into the expert techniques, scientific nuances, and creative variations that transform basic ingredients into something truly extraordinary. Prepare to master the art of the peanut butter ball, creating a dessert that is both profoundly satisfying and surprisingly simple to execute.
Deconstructing the Ingredients: The Foundation of Flavor and Texture
The magic of this recipe lies in its simplicity, which means the quality and choice of each ingredient are paramount. Understanding the role of each component is the first step toward crafting the perfect batch.
· Creamy Peanut Butter (1 cup): This is the undisputed star of the show. For the best consistency and results, opt for a commercially available creamy peanut butter like Jif or Skippy. These brands are emulsified, meaning the oils are thoroughly blended and suspended, resulting in a predictably thick and creamy texture that binds the dough together perfectly. Using natural peanut butter (the kind that separates) often leads to a greasy, less cohesive mixture that can be difficult to shape and may not set correctly. The roasted, salty flavor of the peanut butter provides the essential contrast to the sweetness of the other ingredients.
· Unsalted Butter, softened (1/2 cup): Butter adds richness, a luxurious mouthfeel, and helps to create a smoother, more pliable dough that is far easier to work with than one made with peanut butter alone. Using unsalted butter is crucial as it allows you to control the exact saltiness of the final product. Softened butter is non-negotiable; if it’s too cold, it won’t cream smoothly with the peanut butter, leaving you with a lumpy mixture. To quickly soften butter, leave it on the counter for about 30-45 minutes or cut it into small cubes to accelerate the process.
· Powdered Sugar (3-4 cups): Also known as confectioner’s sugar or icing sugar, this ingredient serves three critical purposes: it sweetens, thickens, and provides structure. The fine powder dissolves instantly, creating a smooth dough without any graininess. The range of 3 to 4 cups is provided because factors like the specific brand of peanut butter and humidity can affect absorption. Start with 3 cups and add more until the mixture reaches a play-dough-like consistency that is not sticky. This sugar is what gives the interior its signature melt-in-your-mouth texture.
· Vanilla Extract (1 teaspoon): Never underestimate the power of vanilla! This single teaspoon adds a warm, aromatic depth that enhances the nutty flavor of the peanut butter and rounds out the overall sweetness. For the best flavor, use pure vanilla extract rather than artificial imitation vanilla.
· Chocolate Chips, for coating (optional): While optional, the chocolate coating is what elevates these from a simple candy to a decadent treat. You can use semi-sweet, milk chocolate, or dark chocolate chips based on your preference. For a truly professional finish, consider using high-quality chocolate baking bars chopped into small, even pieces, as they often contain more cocoa butter and melt into a smoother, more fluid coating.
Mastering the Method: A Step-by-Step Deep Dive
Step 1: Combine Ingredients
· The “Creaming” Process: Begin by placing the softened (not melted) butter and peanut butter in a large mixing bowl. Using an electric hand mixer or a stand mixer fitted with the paddle attachment, beat the two together on medium speed for 1-2 minutes. The goal is to “cream” them together until the mixture is completely smooth, pale, and slightly fluffy. This step incorporates air, which lightens the texture of the final product. Scrape down the sides of the bowl with a spatula to ensure everything is evenly incorporated.
· Incorporating the Sugar: This is the most critical step for achieving the right texture. With the mixer on low speed, gradually add the powdered sugar, one cup at a time. After each addition, mix until the sugar is fully absorbed before adding the next. This gradual process prevents a giant cloud of sugar from exploding out of the bowl and ensures a smooth, not gritty, dough. Once you’ve added 3 cups, stop and test the mixture. It should be firm enough to hold its shape when rolled. If it’s too soft or sticky, continue adding more sugar, a quarter cup at a time, until it reaches the desired consistency.
· The Final Touch: Once the dough is perfect, switch to a wooden spoon or spatula and stir in the vanilla extract. Mixing it in at the end by hand prevents overworking the dough, which could make the butter too warm.
Step 2: Shape the Balls
· Consistency is Key: Use a tablespoon-sized cookie scoop or a regular spoon to portion out the dough. Rolling them to a uniform size ensures they all set at the same rate and look professionally made.
· The Rolling Technique: Roll each portion between the palms of your hands into a smooth, tight ball. If the dough starts to stick to your hands, lightly dust your palms with powdered sugar. Avoid using flour, as it can alter the taste and texture. Placing the rolled balls on a baking sheet lined with parchment or wax paper prepares them for their chocolate bath or their trip to the refrigerator.
Step 3: Coat in Chocolate (Optional but Highly Recommended)
· The Melting Method: For the smoothest, most controllable melt, use a double boiler. Fill a saucepan with an inch of water and bring it to a simmer. Place a heatproof bowl on top, ensuring the bottom does not touch the water. Add your chocolate chips and stir constantly until melted and smooth. If using a microwave, place chocolate chips in a microwave-safe bowl and heat in 20-second bursts on 50% power, stirring vigorously after each interval. This prevents the chocolate from scorching.
· The Art of Dipping: For easy dipping, use a toothpick, a fork, or a specialty dipping tool. Spear a peanut butter ball, dip it completely into the melted chocolate, and gently lift it out. Tap the tool lightly on the side of the bowl to allow any excess chocolate to drip off, ensuring a thin, even coating without a large puddle of chocolate on the bottom (known as a “foot”).
· Setting Up: Carefully place the chocolate-dipped ball back onto the parchment-lined tray. If you used a toothpick, you can use a second toothpick to gently push the ball off the first one, then swirl a tiny bit of chocolate over the hole to cover it. For a decorative finish, you can drizzle additional melted chocolate over the tops or sprinkle them with flaky sea salt, crushed peanuts, or festive sprinkles before the chocolate sets.
Step 4: Chill and Serve
· The Final Set: Place the entire baking sheet of peanut butter balls into the refrigerator for at least 30 minutes, or until the chocolate coating is completely firm to the touch. This chilling step is essential as it solidifies the butter and chocolate, delivering that satisfying snap when you bite into one.
· Storage: Once set, transfer the peanut butter balls to an airtight container. They can be stored in the refrigerator for up to two weeks or frozen for up to three months. Separate layers with parchment paper to prevent sticking. There’s no need to thaw frozen balls before serving; they are delicious cold!
Conclusion: Enjoy Your Creation!
You have now mastered the classic peanut butter ball. This recipe is more than just a list of instructions; it’s a foundation for creativity. Experiment with different types of peanut butter, add a pinch of cinnamon or espresso powder to the dough, or use white chocolate for coating. No matter how you make them, these decadent, homemade treats are guaranteed to bring joy. Share them with friends and family, or keep them all for yourself—we won’t tell