
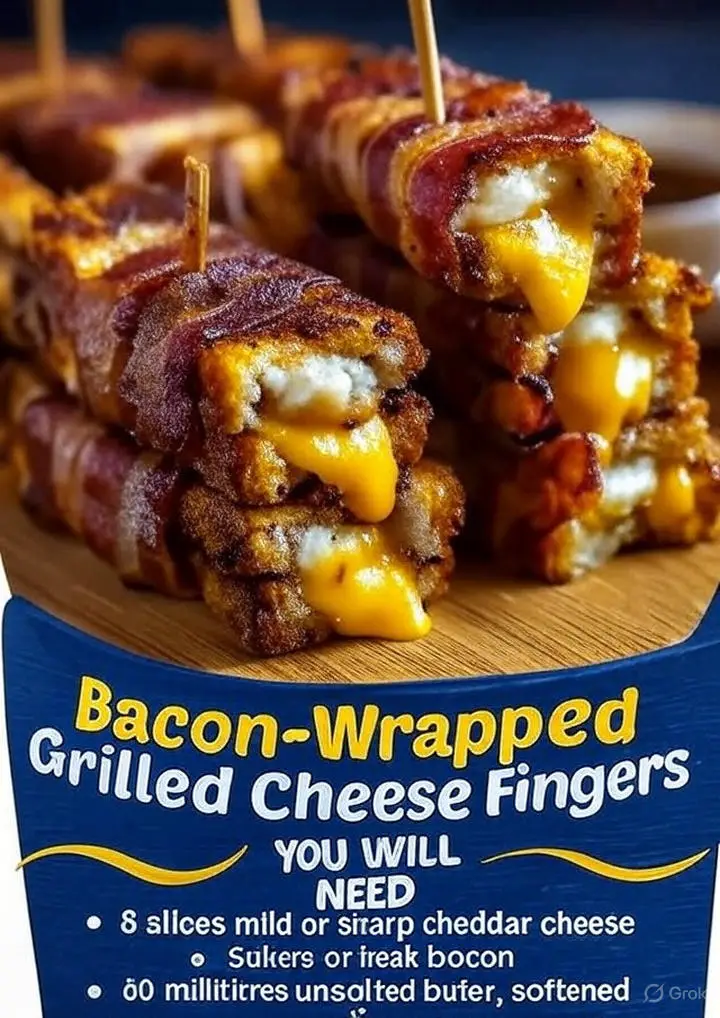
Bacon-Wrapped Grilled Cheese Fingers
Bacon-wrapped grilled cheese fingers are the ultimate appetizer, snack, or party bite — combining crispy bacon, buttery toasted bread, and gooey melted cheddar cheese into one irresistible finger food. They’re perfect for game day, casual gatherings, or whenever you want to turn a simple grilled cheese into something a little more fun and indulgent.
The beauty of this recipe is its simplicity. With just three main ingredients — bread, cheese, and bacon — you can create a dish that’s packed with flavor and guaranteed to impress. The bacon crisps up as it cooks, wrapping the sandwich in a savory hug while the cheese melts into a perfectly gooey center.
Ingredients
- 8 slices cheddar cheese (mild or sharp, depending on preference)
- 8 slices streaky bacon (thin to medium thickness works best for wrapping)
- 30 ml (2 tbsp) unsalted butter, softened
- 4 slices of bread (sourdough, country white, or another sturdy bread works well)
Instructions
1. Prepare the Bread and Cheese
Lay out 4 slices of bread. Spread a thin, even layer of softened butter on one side of each slice. This will help the bread toast beautifully and develop a golden, crispy crust.
2. Assemble the Sandwiches
Place two slices of cheddar cheese on the unbuttered side of two bread slices. Top with the remaining two slices of bread, buttered side facing out, to form two sandwiches.
3. Wrap with Bacon
Carefully wrap each sandwich with two slices of bacon, overlapping the ends slightly so they stay in place. The bacon should cover the sides of the sandwich. If needed, secure the ends with toothpicks to keep them from unraveling during cooking.
4. Cook the Sandwiches
Heat a skillet, cast-iron pan, or griddle over medium heat. Once hot, place the bacon-wrapped sandwiches in the pan. Cook for 3–4 minutes per side, pressing gently with a spatula so the bacon crisps up and adheres to the bread. Flip as needed to ensure the bacon cooks evenly on all sides and the cheese melts completely.
5. Slice into Fingers
Remove the sandwiches from the skillet and let them cool for 1–2 minutes to allow the cheese to firm slightly. Remove toothpicks, then cut each sandwich into 2–4 finger-sized pieces using a sharp knife.
6. Serve
Serve immediately while warm and gooey. These are perfect on their own or dipped into ketchup, spicy mayo, ranch dressing, or even marinara sauce.
Tips for Success
- Choose the Right Bread: A sturdy bread like sourdough or thick-cut white bread holds up well to the bacon wrap and gives you a nice crunch.
- Don’t Overstuff with Cheese: Two slices per sandwich is enough for a good melt without too much cheese leaking out during cooking.
- Cook on Medium Heat: Too hot, and the bacon will burn before the cheese melts. Medium heat ensures crisp bacon and melty cheese.
- Toothpick Trick: Use toothpicks to secure the bacon if it doesn’t stay wrapped — just remember to remove them before slicing and serving!
- Crispier Bacon Option: If you like extra-crispy bacon, pre-cook the slices for 2–3 minutes before wrapping the sandwiches. This gives them a head start without making them too stiff to wrap.
Variations & Serving Ideas
- Spicy Kick: Add a thin layer of jalapeños or a dash of hot sauce inside the sandwich before cooking.
- Cheese Blend: Use a mix of cheddar and mozzarella for extra gooeyness.
- Garlic Butter Upgrade: Mix minced garlic or garlic powder into the butter before spreading it on the bread for a more flavorful crust.
- Mini Party Version: Use small slider buns or cut bread into smaller squares before assembling for bite-sized appetizers.
- Dipping Bar: Serve with a variety of dips like honey mustard, BBQ sauce, ranch, or sriracha mayo for a crowd-pleasing platter.