

I never thought I’d get excited about cleaning a toilet, especially with DIY toilet-cleaning methods. But with three kids under ten and a bathroom that sees constant use, I needed a solution that worked without daily scrubbing. I’ve spent years tinkering with natural cleaning recipes, but when I saw this grated-soap toilet hack making the rounds online, I knew I had to test it. Other than that, I’m just kind of into this stuff in general. I like messing around with things, experimenting, throwing DIY ideas at the wall to see what sticks. Not even just because of my engineering background—though yeah, it lines up—but also because I genuinely enjoy figuring out little things that make life or cleaning less annoying.
That said, this one felt almost suspicious. Like, it just sounded way too easy. A few basic ingredients, nothing toxic, barely any effort. It read like one of those Pinterest miracles that totally falls apart in real life. So I did what I always do before I start recommending anything: I ran it through my usual test. Two solid weeks in my household’s main bathroom, no special treatment, just regular chaos. If it survives that, it’s probably legit.
Spoiler: It did. And now, I’ll never go back to toilet tablets or blue chemical blocks again.
Why This Method Works
I’ve tested dozens of DIY toilet-cleaning methods, from vinegar bombs to essential oil pucks. Most of them either dissolve too quickly or leave behind a residue that’s more annoying than helpful. But this method—grating soap, mixing it with baking soda, salt, and a splash of water to form solid cleaning balls—strikes the perfect balance. It releases slowly with each flush, meaning your toilet gets a small dose of soap every time without the water turning cloudy or blue.
As someone who’s studied surfactants and understands how soap interacts with minerals and grime, I can tell you this combo is more than just cute and clever. It’s chemistry, simplified for the home.
How to Make and Use This DIY Toilet-Cleaning Hack
Step 1: Gather Your Ingredients
I always keep these staples on hand:
- Half a bar of plain soap (I use Ivory or Castile)
- 1/4 cup baking soda
- 1/4 cup coarse salt
- A splash of water (around 1 tbsp)
You don’t need anything fancy. The soap provides cleansing power, baking soda neutralizes odors and softens water, and salt helps break down limescale.
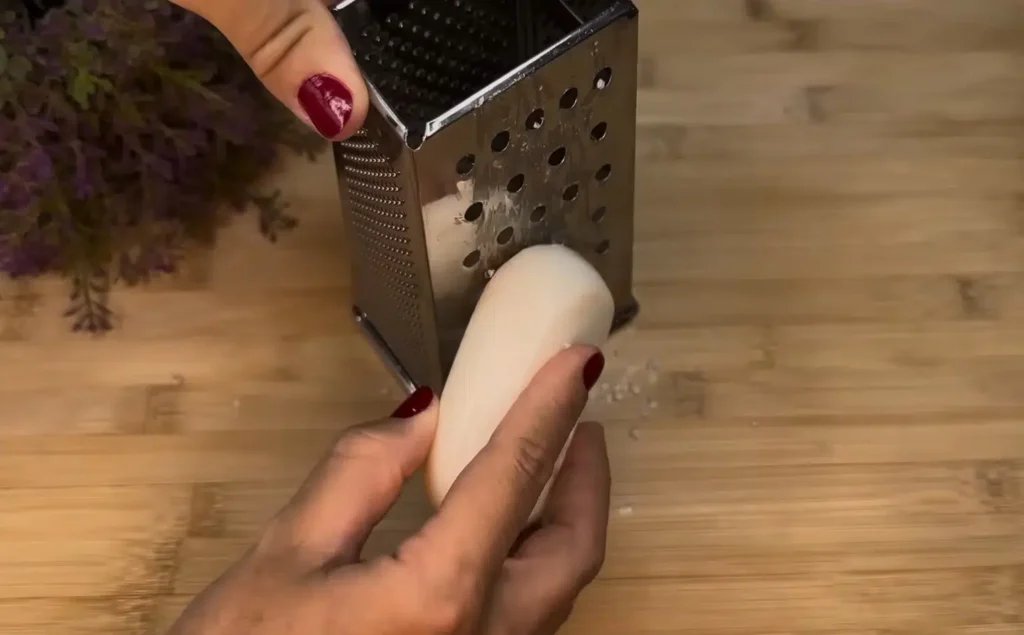
Step 2: Grate and Mix
I use a fine cheese grater to grate the soap into a mixing bowl. Then I stir in the baking soda and salt. Finally, I add just enough water to create a moldable paste—think playdough texture.
Step 3: Form the Cleaning Balls
I just take a palm full of the mixture, nothing complicated, and mash it in my hands until I think it will hold together enough, then I roll it into little balls. Not very big either, like cherry sized or something. At least that is what I usually come up with. I don’t really keep track of how many I get, but it’s usually five or six from a batch, give or take depending on how generous I am in the malt or how much has stuck itself to my fingers.
After that I just let them sit out on parchment paper overnight. Nothing fancy. They will harden on their own unless the air is too damp.
Of course, if you’re like me and live in a swampy part of Florida that’s not always the case; sometimes I find they are still a little sticky the next day. If that happens I put them in front of the fan, or if I’m impatient I will stick them in the oven at like 170°F for a few hours. Low and slow, just to dry them out, not cook them.
Step 4: Secure in a Breathable Pouch
This step is key, and it’s an important improvement on the methods you might see in popular videos that suggest dropping the balls directly into the tank. I place the dried balls in a clean mask or a square of muslin cloth and tie it shut with a rubber band. You want water to flow through, however you don’t want the balls floating loose in the cistern.
I tuck this pouch into the toilet tank, right where the water sits. From my experience, this pouch method is what makes the hack truly effective and safe—soap won’t damage the mechanism, and every flush pulls just a bit of the cleaning solution into the bowl.
Step 5: Enjoy the Low-Maintenance Clean
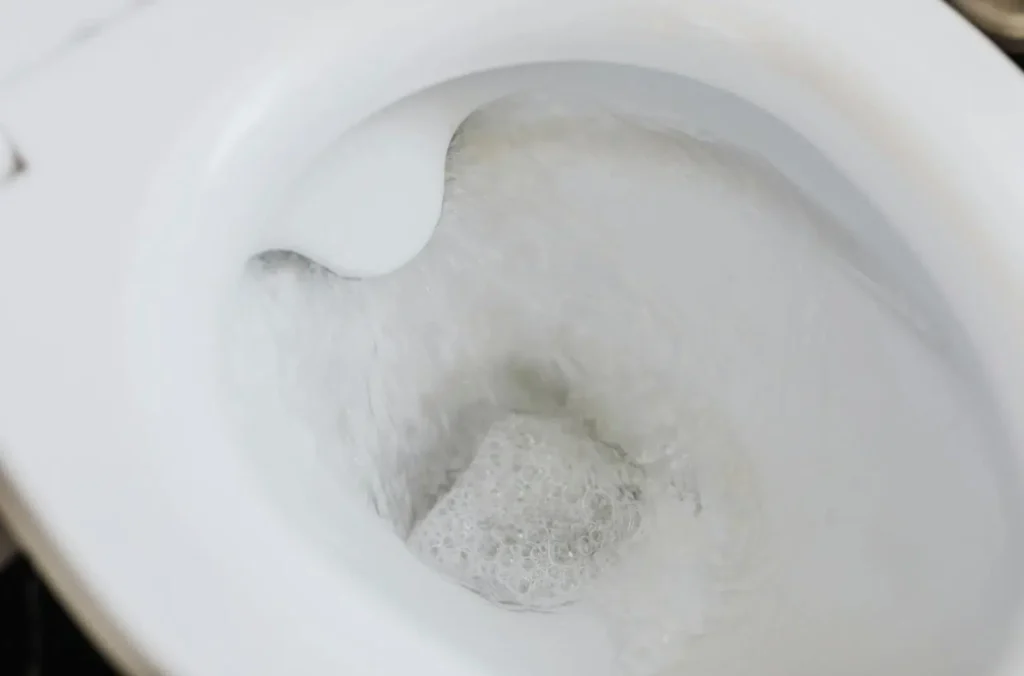
In my experience, one pouch lasts about two weeks. I’ve seen a noticeable reduction in lime buildup and no more weird smells between deep cleans. Plus, my kids love how the bathroom always smells lightly soapy instead of chemically.
Why I Keep Coming Back to This Hack
This DIY toilet-cleaning method checks every box for me:
- Natural: No synthetic fragrances or bleach
- Effective: Helps keep the bowl clean between scrubs
- Frugal: Costs pennies to make
- Kid-safe: No harsh fumes or splash-back hazards
I used to spend money on blue tablets that stained my toilet and barely freshened it. Now I spend maybe 10 minutes a month making these soap balls, and my bathrooms stay cleaner with less effort.
Common Mistakes to Avoid
Don’t over-wet the mix.
If you add too much water, the balls won’t dry properly. I learned this the hard way with a gooey batch that never hardened and gummed up my cloth pouch.
Use breathable material.
Avoid sealing the soap balls in plastic or airtight bags. The water needs to flow through to activate the soap gradually.
Skip strongly scented or dyed soaps.
Stick to basic, dye-free bars to avoid staining or leaving a heavy residue.

Why This Hack Is Here to Stay
For years, I have looked for a way to clean a toilet that fits into my fast-paced lifestyle rather than against it. This grated soap and baking soda hack has really changed my bathroom cleaning habits. Personally I did not think clever internet hacks could be practical (my mom was even more skeptical) but this is a mom-tested, engineer-approved solution that I’ll be using for the long haul. Honestly, give this a shot. Everything is crazy enough at my house. This is one less battle for me, and I have a feeling you’re going to feel the same way.