
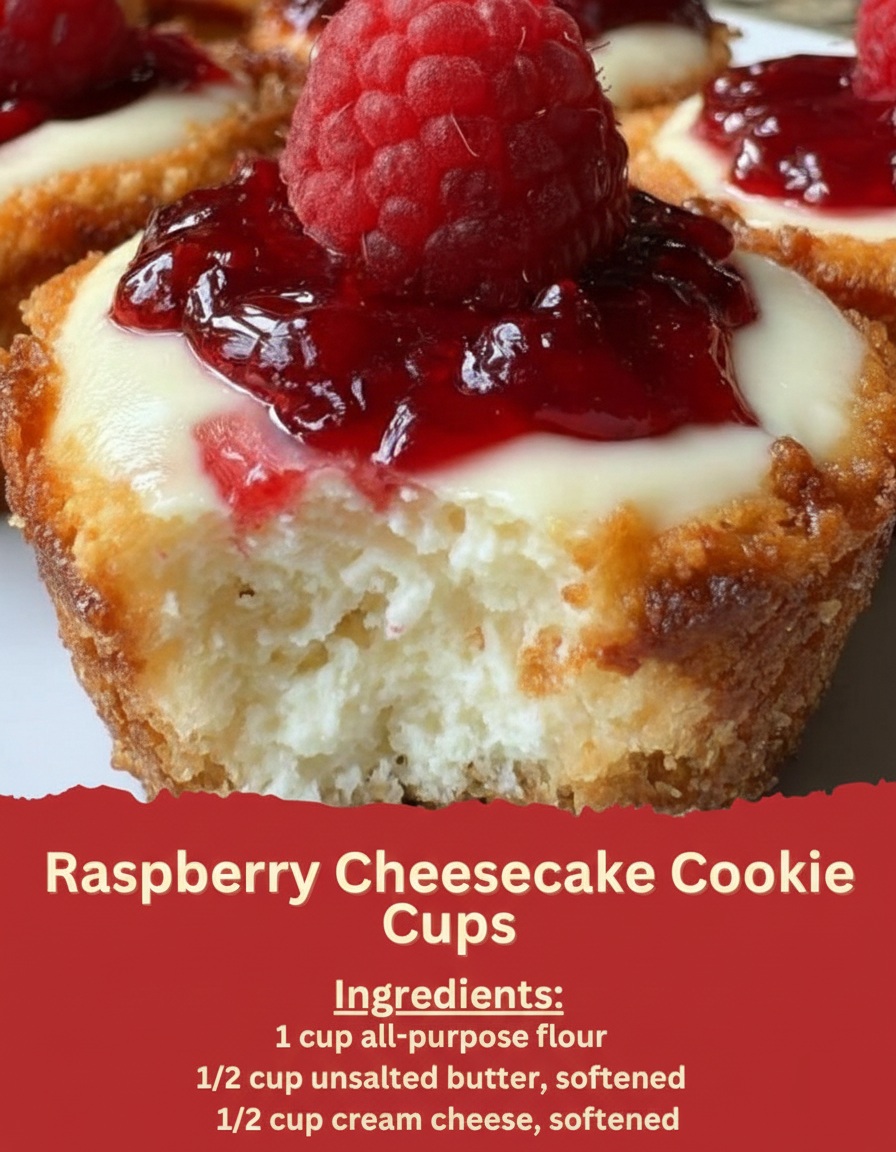
Raspberry Cheesecake Cookie Cups Recipe
Raspberry Cheesecake Cookie Cups offer a professional-level fusion of structure, flavor, and texture, combining the buttery richness of a cookie base with the creamy consistency of a traditional cheesecake filling and the bright acidity of fresh raspberries. This recipe is designed for bakers who want a dessert that delivers visual appeal, balanced flavor, and consistent performance. It transforms simple pantry ingredients into a sophisticated individual dessert suitable for catering, buffets, bakery menus, and home entertaining. Beyond their visual charm, these cookie cups offer controlled portioning, reliable structural integrity, and clear flavor definition, making them an ideal product for both commercial and home kitchens. In this article, the recipe is expanded into a full professional guide that includes detailed technique explanations, ingredient functions, preparation notes, troubleshooting guidance, and variations that allow customization for different audiences and service needs.
Understanding the Concept of Cookie Cups
Cookie cups are formed by pressing cookie dough into muffin tins to create a cavity capable of holding fillings. The controlled shape allows for the structure of a cookie with the functionality of a tart shell. When executed properly, the cookie shell should have crisp edges, a tender interior, and enough stability to support soft fillings. Because the dough is baked in a confined mold rather than on a flat sheet, heat circulation is different, requiring attention to timing, dough consistency, and pan preparation. The filling portion of this recipe takes advantage of that cavity, adding cream cheese mixed with powdered sugar and finished with fresh berries and raspberry jam. When the filled shells return to the oven, the cream cheese mixture warms gently, setting slightly without becoming overbaked or grainy.
Professional Ingredient Overview
Flour: All-purpose flour provides the necessary structure for the cookie shell. Its medium protein content balances chew and tenderness, ensuring the cups maintain shape once baked and cooled. Measuring accurately is essential; excess flour will create crumbly, dry cups, while insufficient flour can cause the cups to collapse.
Baking Soda: Baking soda serves as a leavening agent, promoting slight expansion and softness. Too much leavening can distort the cup shape; too little may create dense cups without the desired tenderness.
Salt: Salt balances sweetness and enhances depth of flavor in both the cookie shell and the filling.
Unsalted Butter: Softened butter is creamed with sugar to incorporate air, creating a lighter texture. Butter must be softened but not melted, ideally around 67°F to ensure proper structure and controlled spreading.
Granulated Sugar and Brown Sugar: Granulated sugar promotes spread and crispness, while brown sugar adds moisture and depth. The blend ensures consistent browning, balanced sweetness, and enhanced stability.
Egg: The egg binds the ingredients and helps achieve a cohesive dough with resilience. Using a room-temperature egg ensures proper emulsification and a smoother dough.
Vanilla Extract: Provides aromatic depth in the cookie shell, complementing both the cream cheese filling and the fruit topping.
Cream Cheese: Softened cream cheese creates a smooth, stable filling that holds its shape after baking. A full-fat version is recommended for best consistency, preventing the filling from thinning during the reheating stage.
Powdered Sugar: Sweetens the filling without introducing graininess. Powdered sugar dissolves more efficiently than granulated sugar in cream cheese mixtures.
Fresh Raspberries: Provide brightness, natural acidity, and color variation. The berries should be firm enough to withstand brief heat exposure.
Raspberry Jam: Adds concentrated raspberry flavor and acts as a moisture component that ties together the fresh berries and cream cheese. A high-quality jam or preserves ensures better texture and flavor clarity.
Complete Recipe
Ingredients
1 cup all-purpose flour
1/4 teaspoon baking soda
1/4 teaspoon salt
1/2 cup unsalted butter, softened
1/3 cup granulated sugar
1/3 cup brown sugar, packed
1 large egg
1 teaspoon vanilla extract
1/2 cup cream cheese, softened
1/4 cup powdered sugar
1/2 cup fresh raspberries
1/4 cup raspberry jam
Directions
- Preheat the oven to 350°F (175°C). Prepare a standard 12-cup muffin pan by lightly greasing each cavity to ensure the cookie cups release easily after baking.
- In a medium bowl, whisk together the flour, baking soda, and salt. Ensure the mixture is evenly blended to promote uniform rising and structure.
- In a separate large bowl, cream the softened butter with both sugars until the mixture becomes light and fluffy. This step incorporates air into the dough, contributing to final texture.
- Add the egg and vanilla extract to the butter mixture. Beat until the ingredients are fully combined and the mixture appears smooth.
- Gradually add the dry mixture to the wet ingredients. Mix only until combined. Overmixing at this stage can create a tough cookie cup due to gluten development.
- Portion approximately one tablespoon of cookie dough into each muffin cup, pressing the dough firmly along the bottom and up the sides to create a cup shape. Ensure even thickness for consistent baking.
- Bake the cookie shells for 8 to 10 minutes, or until the edges are lightly golden. Remove the pan from the oven and allow the cups to cool slightly. While warm, they may be gently reshaped using the back of a spoon if the centers have puffed.
- In a small mixing bowl, beat the cream cheese and powdered sugar together until smooth and free of lumps.
- Spoon about one teaspoon of the cream cheese filling into each partially cooled cookie cup.
- Place two to three raspberries on top of the cream cheese layer.
- Add a small dollop of raspberry jam over the berries to enhance moisture and flavor balance.
- Return the muffin pan to the oven and bake for an additional 5 minutes to lightly set the filling.
- Remove from the oven and allow the cookie cups to cool completely in the pan before attempting removal. Once fully cooled, gently lift them out using a thin spatula or the tip of a knife.
Prep Time: 20 minutes
Cook Time: 15 minutes
Total Time: 35 minutes
Servings: 12
Calories: 210 per serving
Professional Technique Explanation
Creaming Butter and Sugar: Proper creaming is central to the success of the cookie shell. The goal is to expand the butter by incorporating air. Under-creaming results in dense cookies, while over-creaming can cause excessive spread. A light, pale, fluffy texture indicates the correct stage.
Pressing the Dough into the Pan: Uniform thickness ensures even baking and prevents cracking. If the edges are thinner than the bottom, they may become too crisp or break during removal.
Monitoring the First Bake: The cookie cups should look slightly underbaked when removed from the oven for the first time. They will continue to cook from residual heat. Fully baking them at this stage may cause the edges to overbrown during the second bake.
Adding the Filling: Adding the cream cheese filling to warm cookie cups helps the filling settle evenly.
Second Bake Timing: A brief second bake sets the filling without altering its smooth texture. Excess baking causes graininess or cracking.
Cooling and Removal: Complete cooling is essential. Removing the cups too early risks tearing or breaking due to structural softness.
Troubleshooting Guide
Cookie Cups Collapsing: If the cups collapse inward after baking, possible causes include insufficient flour, overmixed dough, or underbaking. Ensuring an accurate flour measurement and mixing only until combined is key.
Edges Browning Too Quickly: This can occur if the dough is too thin at the edges or if the oven runs hot. Press dough evenly and use an oven thermometer if necessary.
Filling Becoming Runny: Runny filling results from using overly soft or low-fat cream cheese. Use full-fat cream cheese at a slightly chilled temperature.
Berries Leaking Too Much Juice: Overly ripe raspberries can leak moisture. Choose firm berries and pat them dry before assembly.
Difficulty Removing Cookie Cups: Greasing the pan thoroughly and allowing complete cooling prevents sticking. A silicone muffin pan offers easier release.
Flavor and Texture Analysis
These cookie cups combine multiple textures in a single bite. The exterior offers crispness with a slightly chewy interior due to the brown sugar. The cream cheese layer is smooth and rich without being overly heavy. Fresh raspberries add juiciness and tartness, while the raspberry jam contributes concentrated sweetness and binds flavor elements together. The dual raspberry components provide both freshness and depth, ensuring the dessert avoids being overly sweet. The structural contrast is deliberate, allowing the crisp cookie shell to function as both a container and a textural counterpoint to the creamy filling.
Professional Storage Guidelines
Room Temperature Storage: Because the filling contains cream cheese, room temperature storage is limited to two hours for food safety.
Refrigerator Storage: Store in an airtight container in the refrigerator for up to three days. The cookie shell will soften slightly over time, but flavor quality remains acceptable.
Freezer Storage: Freeze unfilled cookie shells for up to two months. Filled cookie cups do not freeze well due to the fresh berries. Thaw shells at room temperature before filling and serving.
Commercial Storage Considerations: In bakery settings, the shells can be pre-baked and held refrigerated for up to one week in airtight containers. Fill shortly before service to maintain optimal texture.
Serving Suggestions
Raspberry Cheesecake Cookie Cups work well for dessert platters, corporate catering, afternoon tea menus, and buffet displays. They also function as plated dessert components when paired with additional elements such as fruit coulis, whipped cream, or chocolate drizzles. For professional service, consider garnishing with a light dusting of powdered sugar or micro herbs such as mint for visual refinement.
Recipe Variations
Strawberry Cheesecake Cookie Cups: Substitute raspberries with strawberries and use strawberry jam.
Blueberry Lemon Cups: Use blueberries and a lemon-infused cream cheese filling.
Chocolate Swirl Cheesecake Cups: Add melted chocolate to the cream cheese mixture to create a marbled effect.
White Chocolate Raspberry Cups: Incorporate white chocolate chips into the cookie dough for extra sweetness and richness.
No-Bake Filling Variation: Bake only the cookie cups and fill with a chilled no-bake cheesecake mixture.
Gluten-Free Version: Use a reputable gluten-free flour blend. Texture may differ slightly but remains structurally sound.
Nut-Enhanced Variation: Add finely chopped almonds to the dough for texture contrast.
Professional Tips for Best Results
Use full-fat cream cheese for the most stable filling.
Weigh ingredients when possible for consistency.
Ensure the dough is evenly distributed in each muffin cavity.
Allow cooling before removal to prevent breakage.
Use high-quality raspberry jam with minimal additives for the best flavor.
Conclusion
Raspberry Cheesecake Cookie Cups are a reliable, visually appealing, and versatile dessert that allows bakers to achieve consistent results with professional technique. Combining cookie structure with cheesecake filling and fresh fruit creates a multi-layered flavor experience suitable for both casual gatherings and elevated presentations. With attention to dough handling, ingredient quality, and controlled baking times, this recipe produces cookie cups that maintain structure while delivering a balanced and refined flavor profile.