
The $300 Frosting — also widely known as Ermine Frosting, boiled milk frosting, cooked flour frosting, old-fashioned roux frosting, or milk frosting — has earned its legendary reputation for a reason. This silky, light, and luxuriously smooth topping transforms even the simplest cake into something extraordinary. The name “$300” stems from stories (some apocryphal, others tied to premium bakeries or vintage recipes) suggesting that the recipe or a professionally made version was once so prized that people would pay an exorbitant amount for it, or that its taste felt worth every penny of such a price. In reality, the ingredients are humble and affordable, but the technique and final result deliver a professional bakery-level experience that feels indulgent and expensive.
Unlike traditional American buttercream, which relies heavily on powdered sugar for sweetness and structure (often resulting in a very sweet, dense topping), this frosting uses a cooked flour-and-milk base — essentially a roux or pudding-like thickener — whipped together with butter, granulated sugar, and vanilla. The result is a frosting that’s creamy yet feather-light, mildly sweet, stable at room temperature, and perfect for piping or spreading. It has a melt-in-your-mouth quality reminiscent of whipped cream but with far more structure and staying power. No wonder it’s the classic pairing for red velvet cake in many Southern U.S. traditions, and a go-to for weddings, birthdays, and special occasions where you want something elegant without overpowering sweetness.
Why This Frosting Stands Out
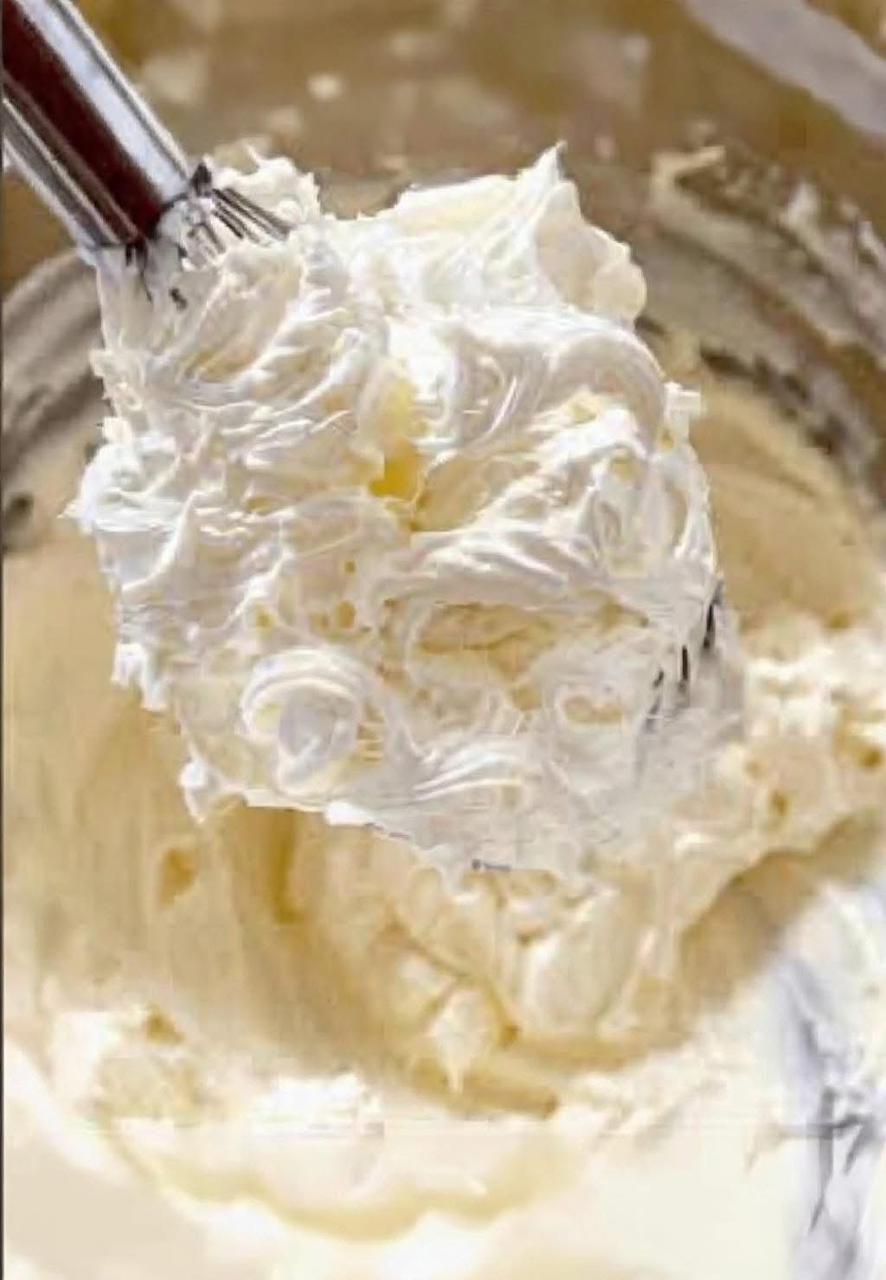
What makes $300 frosting so special is its texture and balance. Many people describe it as “not too sweet,” “silky like custard,” or “like clouds on your tongue.” The cooking step neutralizes the raw flour taste while creating a stable emulsion that holds air beautifully when whipped. This means it doesn’t melt as quickly as whipped cream in warm weather, nor does it form a crust like some powdered sugar frostings. It’s versatile enough for layer cakes, cupcakes, sheet cakes, whoopie pies, or even as a filling for macarons or sandwich cookies.
Historically, this style of frosting dates back to the early 20th century (and possibly earlier in Southern American baking), when confectioners’ sugar wasn’t as ubiquitous or affordable. Bakers used flour and milk to stretch expensive butter and sugar, creating a luxurious result during times of rationing or scarcity. The “ermine” name evokes the soft, white, luxurious fur of the ermine animal — a nod to its pure white color and plush feel. Over time, as powdered sugar buttercreams became dominant, this vintage method faded from everyday use but has seen a major resurgence in recent years among home bakers and food bloggers seeking less-sweet alternatives.
Ingredients (for about 4–5 cups of frosting, enough for a 9-inch three-layer cake or 24 cupcakes)
- 1 cup whole milk (or 2% for a slightly lighter version; avoid skim as it reduces creaminess)
- 5 tablespoons all-purpose flour (spooned and leveled for accuracy)
- 1 cup (2 sticks) unsalted butter, softened to room temperature (critical for proper creaming)
- 1 cup granulated sugar (not powdered; the granules dissolve during whipping for smoothness)
- 1 teaspoon pure vanilla extract (or more to taste; high-quality extract makes a difference)
- Optional pinch of salt (to enhance flavor, especially if using salted butter)
These quantities match the classic version you described. Some variations add a bit more flour for extra thickness or substitute part of the butter with shortening for stability, but the core remains the same.
Step-by-Step Instructions
- Prepare the milk-flour base (the “roux” or pudding stage)
In a medium saucepan off the heat, whisk together the 1 cup milk and 5 tablespoons flour until completely smooth and lump-free. This prevents clumps later.
Place the saucepan over medium heat. Cook, whisking constantly, for 5–10 minutes until the mixture thickens to a pudding-like consistency. It should bubble gently and coat the back of a spoon (similar to a thin béchamel sauce). Do not let it boil vigorously, as that can make it lumpy or scorched.
Once thick, remove from heat immediately. Transfer to a bowl, press plastic wrap directly onto the surface to prevent a skin from forming, and cool completely to room temperature (about 1–2 hours). You can speed this up by placing it in the refrigerator, but stir occasionally. The mixture must be cool — if it’s even slightly warm, it will melt the butter later and ruin the emulsion. - Cream the butter and sugar
In a large mixing bowl (or the bowl of a stand mixer fitted with the paddle attachment), beat the softened butter and granulated sugar on medium-high speed for 3–5 minutes. Scrape down the sides as needed. The mixture should become pale, fluffy, and almost doubled in volume. This step incorporates air and begins dissolving the sugar granules, which is key to the final silky texture.
Add the vanilla extract (and optional pinch of salt) and beat for another 30 seconds to combine. - Combine everything
Once the milk-flour mixture is fully cooled, add it gradually to the butter-sugar mixture (in 2–3 additions for easier incorporation). Beat on medium speed at first to blend, then increase to medium-high. Whip for a full 5–8 minutes (or longer if needed). The frosting will transform — it starts looking separated or curdled, then magically comes together into a light, airy, whipped-cream-like consistency.
Stop and scrape the bowl frequently. The longer you whip (up to 10 minutes in some mixers), the fluffier and more stable it becomes. It should hold soft peaks but still be spreadable. - Use immediately or store
Frost your cooled cake right away for best results. This frosting pipes beautifully with tips like 1M or 2D for rosettes. It sets softly but holds shape well.
Tips for Perfect Results Every Time
- Temperature is everything: Butter must be soft but not greasy (ideal: leaves a fingerprint when pressed). Milk mixture must be cool. Warm ingredients cause separation.
- No lumps: Whisk the flour into cold milk thoroughly before heating. If lumps form during cooking, strain through a fine-mesh sieve.
- Mixer power: A stand mixer excels here due to the long whipping time. Hand mixers work but require patience.
- Troubleshooting:
- Too runny? Chill 15–30 minutes, then re-whip.
- Grainy? Sugar didn’t fully dissolve — whip longer or ensure creaming step is thorough.
- Separated? Overheated milk mixture likely — start over, or chill and re-whip aggressively.
- Make-ahead: Prepare the milk base up to 2 days ahead (refrigerate). Bring to room temp before using. Finished frosting keeps 2–3 days at room temp in an airtight container or up to a week refrigerated (re-whip before using).
- Scaling: Double easily for larger cakes, but cook in batches if your pan is small to avoid scorching.
Flavor Variations
- Chocolate: Add 1/2–3/4 cup sifted unsweetened cocoa powder during the creaming step (adjust sugar slightly if too bitter).
- Coffee: Dissolve 2–3 tsp instant espresso in the milk before cooking.
- Fruit: Fold in fruit puree reductions after whipping (strawberry, raspberry — strain seeds).
- Spiced: Add cinnamon, nutmeg, or cardamom to the milk base.
- Cream cheese twist: Replace half the butter with softened cream cheese for tang (great on carrot cake).
- Almond or other extracts: Swap or combine with vanilla.
Pairing Suggestions
This frosting shines on:
- Red velvet cake (its traditional partner)
- Chocolate cake or devil’s food
- Vanilla, yellow, or white cakes
- Spice cake, carrot cake, or hummingbird cake
- Cupcakes for elegant swirls
- Layer cakes with fruit fillings (strawberry, lemon curd)
It complements bold flavors without competing, letting the cake shine while adding luxurious texture.
Nutrition and Storage Notes
Per approximate 2-tablespoon serving: ~120–140 calories, mostly from butter and sugar. It’s richer than whipped cream but lighter than traditional buttercream. Store frosted cakes covered at cool room temperature for 2–3 days, or refrigerate up to 5 days. Freeze frosted layers (well-wrapped) for up to 2 months — thaw slowly in fridge and re-whip frosting if needed.
This frosting proves that sometimes the most impressive results come from simple techniques and patience. Once you master it, you’ll find yourself reaching for this recipe over others — it’s the kind that earns compliments like “You made this yourself?” and requests for seconds. Enjoy turning your next bake into something truly memorable!