
Cherry Pie Bars: Your New Favorite Easy Dessert
There’s something undeniably magical about the taste of a homemade cherry pie. That perfect blend of sweet and tart cherries encased in a flaky, buttery crust is the stuff of childhood memories and holiday dreams. But let’s be honest: making a pie from scratch can be a project. Between chilling the dough, rolling it out, and crafting a perfect lattice top, it’s a time-consuming labor of love.
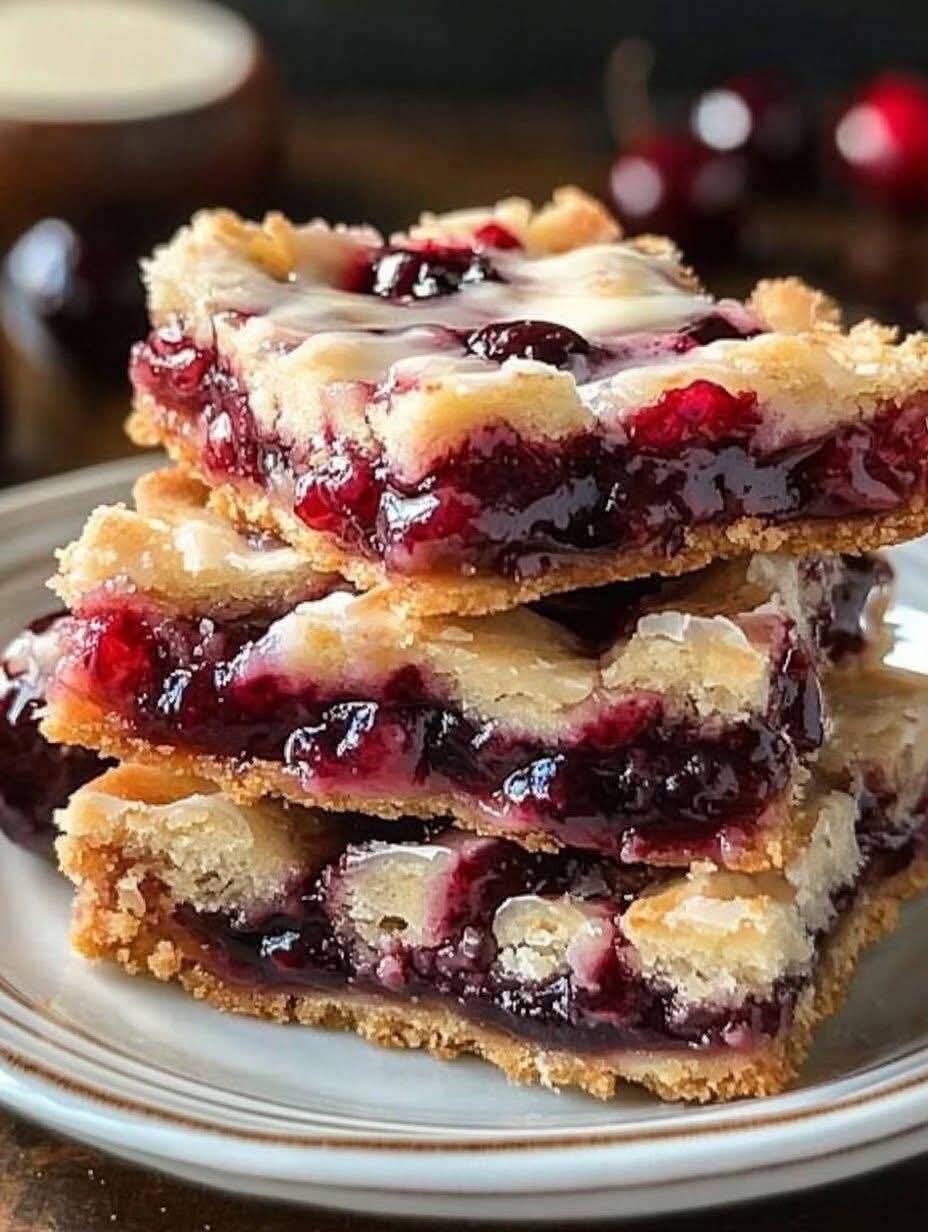
What if you could capture all that incredible flavor in a dessert that’s incredibly easy to make, perfectly portable, and designed to feed a crowd? Enter the glorious Cherry Pie Bar. This dessert is a game-changer. It deconstructs the classic pie into a simple, foolproof bar cookie with a rich shortbread crust, a luscious cherry filling, and a delightful crumb topping. Every square is a perfect bite of nostalgia and ease, making it the ultimate dessert for busy bakers who never want to compromise on taste.
The Story Behind the Bar: A Twist on an American Classic
The cherry pie itself is an iconic American dessert, often symbolizing warmth, home, and celebration. Its history is deep, but the innovation of the “pie bar” is a more modern convenience, born from the mid-20th-century need for potluck-friendly, easy-to-serve desserts. The bar cookie format takes the heart of a pie—the filling and the crust—and reimagines it for a new generation. It’s a testament to the fact that sometimes the best recipes come from simplifying the classics, not complicating them. These bars honor the tradition of cherry pie while firmly establishing themselves as a staple for today’s baker.
Why You’ll Love This Recipe
· Incredibly Easy: No pastry skills required! The press-in crust eliminates any need for rolling pins.
· Crowd-Pleaser: Baked in a 9×13 inch pan, this recipe yields plenty of bars for a party, picnic, or bake sale.
· Make-Ahead Friendly: These bars taste just as good (if not better) the next day, making them perfect for planning ahead.
· The Perfect Texture: Enjoy the contrast of the tender, buttery crust, the juicy cherry filling, and the satisfying crumble topping.
Cherry Pie Bars Recipe
Prep Time: 15 minutes Cook Time:35 minutes Cooling Time:1 hour (minimum) Total Time:1 hour 50 minutes Servings:12 generous bars
Ingredients
For the Crust & Topping:
· 2 cups all-purpose flour
· 1/2 cup granulated sugar
· 1/2 teaspoon salt
· 1 cup (2 sticks) unsalted butter, softened
· 1 teaspoon pure vanilla extract
For the Cherry Filling:
· 1 can (21 oz) cherry pie filling
· 1 tablespoon cornstarch
· 1 teaspoon lemon juice
· 1/2 teaspoon almond extract (highly recommended!)
For Garnish (optional):
· Powdered sugar, for dusting
Instructions
- Prep the Oven and Pan
Preheat your oven to 350°F (175°C). Grease a 9×13 inch baking dish or line it with parchment paper, leaving a slight overhang on two sides. This will make it incredibly easy to lift the entire slab of bars out for clean slicing later.
- Make the Shortbread Base
In a large mixing bowl, whisk together the flour, granulated sugar, and salt. Add the softened butter and vanilla extract. Use a pastry cutter, a fork, or even your clean hands to mix everything together until it forms a crumbly dough that holds together when pinched.
- Press the Crust
Reserve about one-third of this crumb mixture for the topping. Transfer the remaining two-thirds of the mixture into your prepared baking dish. Press it down firmly and evenly into the bottom of the pan to create a solid crust layer.
- Create the Cherry Filling
In a medium bowl, stir together the canned cherry pie filling, cornstarch, lemon juice, and almond extract. The cornstarch will help thicken the filling as it bakes, ensuring your bars slice neatly. The lemon juice brightens the flavor, and the almond extract adds a classic, bakery-quality depth.
- Assemble the Bars
Spread the cherry filling mixture evenly over the prepared crust, going all the way to the edges. Take the reserved crumb mixture and crumble it evenly over the top of the cherry layer. Don’t worry about making it perfect—the uneven clumps will create a beautiful, rustic look and a wonderful texture.
- Bake to Perfection
Place the pan in the preheated oven and bake for 30-35 minutes, or until the top is a light golden brown and the cherry filling is bubbling around the edges.
- Cool Completely
This is the most important step for clean cuts! Place the pan on a wire cooling rack and allow the bars to cool completely to room temperature. This will take at least an hour. For even cleaner slices, you can refrigerate them for an additional hour after they’ve cooled.
- Slice and Serve
Once completely cool, use the parchment paper to lift the entire block out of the pan. Place it on a cutting board and slice into 12 squares. For a pretty finishing touch, dust the tops with powdered sugar right before serving.
Chef’s Notes & Tips for Success
· Butter Temperature is Key: Your butter must be softened, not melted. It should be cool to the touch but leave a slight indent when you press it. This is crucial for achieving a crumbly, shortbread-like texture instead of a greasy, hard one.
· Don’t Skip the Almond Extract: This ingredient is non-negotiable for many bakers. It perfectly complements the cherry flavor and makes the bars taste like they came from a professional bakery.
· Cooling is NOT Optional: If you try to cut into these bars while they are still warm, the filling will ooze out, and you’ll have a messy (albeit delicious) situation. Patience is rewarded with perfect, neat bars.
· Storage: Keep leftover bars in an airtight container at room temperature for up to 2 days or in the refrigerator for up to 5 days. They can also be frozen for up to 3 months.
Nutritional Information (Approximate, per bar)
· Calories: ~320 kcal
· Carbohydrates: 38g
· Protein: 2g
· Fat: 18g
· Saturated Fat: 11g
· Cholesterol: 45mg
· Sodium: 100mg
· Sugar: 25g
Conclusion & Final Recommendation
The humble Cherry Pie Bar is a testament to the idea that the best desserts don’t have to be complicated. This recipe delivers 100% of the classic cherry pie flavor with only a fraction of the effort. The buttery crust, the vibrant cherry filling, and the sandy crumble topping create a harmony of textures and flavors that is utterly irresistible.
I highly recommend doubling the recipe if you’re taking these to a gathering—they will disappear fast! They are the perfect dessert for summer picnics, Fourth of July celebrations, holiday parties, or just a regular Tuesday when you need a sweet treat.
Embracing Healthful Indulgence
While these bars are undoubtedly a dessert, they can be part of a balanced lifestyle. The joy and comfort derived from a homemade treat are nourishment in their own right. To enjoy them mindfully, savor a single bar with a cup of tea or coffee, appreciating each bite. You can also pair them with a source of protein, like a glass of milk or a Greek yogurt, for a more satiating snack. Remember, baking at home allows you to control the ingredients, and choosing a quality cherry pie filling is a simple step toward a better dessert. Ultimately, these Cherry Pie Bars are about more than just sugar and flour; they’re about creating moments of joy and sharing them with the people you love. That is a indulgence worth embracing.