
The Ultimate Chocolate Buttercream Frosting Recipe: Silky, Rich, and Perfectly Pipeable
Chocolate buttercream frosting is one of those timeless classics that elevates any dessert from good to unforgettable. Whether you’re topping a decadent chocolate layer cake, swirling it onto cupcakes, or simply spreading it over brownies, this frosting delivers a deep, rich chocolate flavor balanced with creamy sweetness. Unlike store-bought versions that can taste artificial or overly sugary, homemade chocolate buttercream is luxurious, smooth, and customizable.
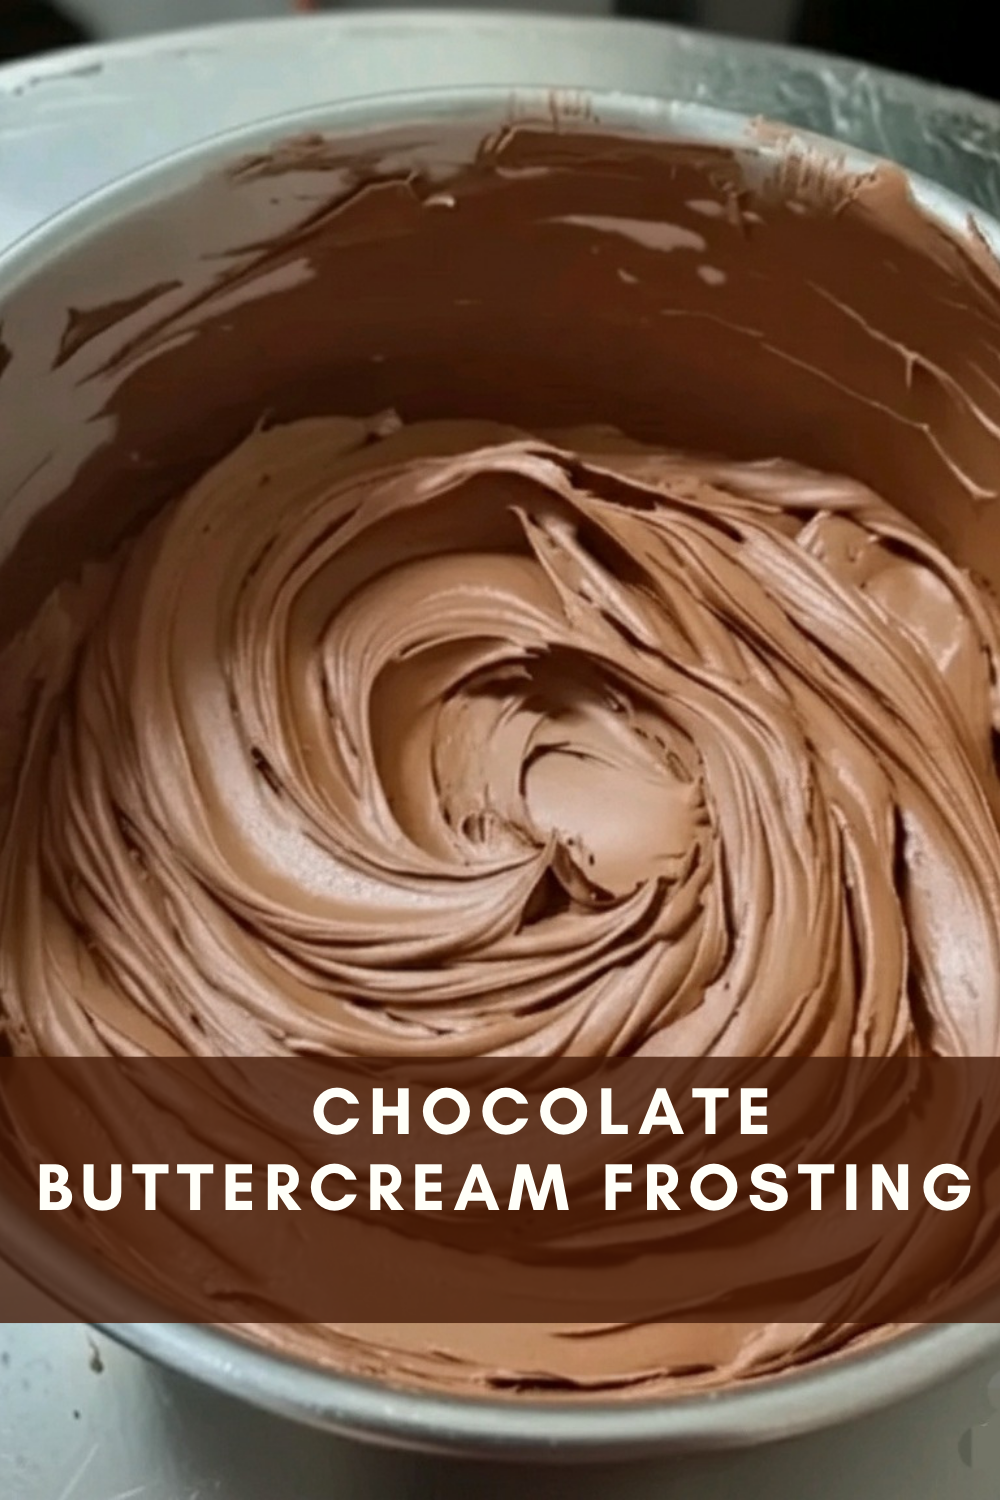
This recipe is an American-style buttercream, made with butter as the base for incredible richness and stability. It’s easy to make with just a few pantry staples, requires no cooking, and comes together in under 15 minutes. The result is a frosting that’s fluffy yet firm enough for piping beautiful rosettes or sharp edges on cakes. It’s not too sweet, thanks to the use of unsweetened natural cocoa powder and a touch of salt, allowing the chocolate to shine through.
In this comprehensive guide, we’ll dive deep into the recipe, explore the ingredients in detail, provide step-by-step instructions with tips for success, discuss common troubleshooting, offer variations, storage advice, and pairing suggestions. By the end, you’ll be equipped to make the best chocolate buttercream frosting you’ve ever tasted.
Why This Chocolate Buttercream Recipe Stands Out
There are countless chocolate frosting recipes out there, from ganache-based to cooked flour versions, but this one strikes the perfect balance:
- Rich chocolate flavor from natural cocoa powder.
- Silky texture achieved by whipping air into the butter.
- Perfect consistency for spreading, piping, or filling – adjustable with a splash of cream.
- Stability at room temperature for hours, making it ideal for parties or layered cakes.
- Simple ingredients – no fancy equipment or techniques required beyond a mixer.
This recipe yields about 3 cups of frosting, enough to generously frost 24 cupcakes, fill and crumb-coat a two-layer 8- or 9-inch cake, or cover a 9×13-inch sheet cake.
Ingredients
- 1 cup (2 sticks) unsalted butter, softened
- 3 cups confectioners’ sugar (powdered sugar)
- 1/2 cup unsweetened natural cocoa powder
- 3 to 4 tablespoons heavy whipping cream, plus more if needed to thin
- 2 teaspoons pure vanilla extract
- 1/4 teaspoon salt
Ingredients Breakdown: What You’ll Need and Why
Let’s take a closer look at each ingredient and its role in creating the perfect chocolate buttercream.
- 1 cup (2 sticks) unsalted butter, softened: The foundation of any great buttercream. Unsalted butter allows you to control the salt level, and softening it to room temperature ensures it whips up light and fluffy without curdling. European-style butter with higher fat content (like Plugra or Kerrygold) will give an even richer taste.
- 3 cups confectioners’ sugar (powdered sugar): This provides sweetness and structure. Confectioners’ sugar dissolves easily, creating a smooth texture without grittiness. Sift it if it’s clumpy for the silkiest results.
- 1/2 cup unsweetened natural cocoa powder: Natural cocoa (not Dutch-process) gives a bold, tangy chocolate flavor that pairs beautifully with the sweetness. Brands like Hershey’s or Ghirardelli work well. Avoid sweetened cocoa or hot chocolate mix.
- 3 to 4 tablespoons heavy whipping cream: This thins the frosting to the ideal spreadable consistency while adding extra creaminess. Heavy cream has a higher fat content than milk, resulting in a richer mouthfeel. Start with 3 tablespoons and add more as needed.
- 2 teaspoons pure vanilla extract: Vanilla enhances the chocolate notes without overpowering them. Use pure extract for the best flavor – imitation vanilla can taste artificial.
- 1/4 teaspoon salt: A small amount of salt balances the sweetness and intensifies the chocolate flavor. It cuts through the richness, making each bite more satisfying.
These simple ingredients come together to create a frosting that’s far superior to anything from a can.
Step-by-Step Instructions: How to Make Perfect Chocolate Buttercream
Making this frosting is straightforward, but following these steps precisely will ensure professional results every time.
- Prepare your equipment: Use a stand mixer fitted with the whisk attachment for the fluffiest results, or a handheld electric mixer. A paddle attachment works too, but the whisk incorporates more air. Have your bowl and tools ready.
- Beat the butter: Place the softened butter in the bowl. Beat on high speed for about 3 full minutes. You’ll notice it becomes very pale, creamy, and lighter in color – almost white. This step is crucial as it aerates the butter, creating a light base. Scrape down the sides and bottom of the bowl halfway through to ensure even whipping.
- Add the dry ingredients and liquids: Add the 3 cups confectioners’ sugar, 1/2 cup cocoa powder, 3 tablespoons heavy cream, 2 teaspoons vanilla extract, and 1/4 teaspoon salt all at once.
- Mix carefully at first: Start beating on low speed just until the dry ingredients are incorporated. This prevents a powdered sugar explosion all over your kitchen. Once combined, increase to medium-high speed.
- Whip for fluffiness: Beat on medium-high for a full 3 minutes. This incorporates air, making the frosting light and voluminous. Scrape down the bowl several times to blend everything evenly.
- Adjust consistency: Check the texture. If it’s too thick for your needs (e.g., for piping stiff rosettes), add up to 1 more tablespoon of heavy cream and whip briefly. If it’s too thin, add confectioners’ sugar 1-2 tablespoons at a time.
Your frosting is now ready to use! It should be smooth, glossy, and hold soft peaks.
Pro Tips for the Best Chocolate Buttercream Every Time
Even experienced bakers can run into issues, so here are expert tips to guarantee success:
- Room temperature butter is key: It should indent easily when pressed but not be melty. If too cold, the frosting may look curdled; if too warm, it’ll be soupy.
- Sifting for smoothness: If your cocoa or sugar has lumps, sift them together before adding. This prevents gritty bits in the final frosting.
- Flavor enhancements: For deeper chocolate taste, dissolve 1-2 teaspoons instant espresso powder in the cream before adding – it amplifies chocolate without adding coffee flavor.
- Color considerations: Natural cocoa gives a lighter brown hue. For darker frosting, use a blend of natural and Dutch-process cocoa, or add a few drops of black food coloring.
- Piping perfection: For sharp designs, chill the frosting for 15-20 minutes before piping. Use a large star tip like Wilton 1M for classic swirls.
- Scaling the recipe: Double it easily for larger cakes, but whip in batches if your mixer bowl is small.
- Temperature control: In hot kitchens, chill the bowl briefly before starting to keep everything cool.
- High-altitude adjustments: If baking at high elevation, you may need slightly less sugar or more cream due to drier air.
Troubleshooting Common Chocolate Buttercream Issues
Frosting not turning out quite right? Here’s how to fix it:
- Too thick/stiff: Add heavy cream or milk 1 teaspoon at a time, whipping well after each addition.
- Too thin/runny: Add more confectioners’ sugar 2 tablespoons at a time, or chill for 30 minutes to firm up.
- Grainy texture: Likely from unsifted sugar or cocoa. Beat longer, or strain through a fine sieve.
- Curdled appearance: Butter was too cold. Keep beating – it often comes together with persistence. If not, warm the bowl slightly over a pan of hot water and continue whipping.
- Air bubbles when piping: Overwhipped or trapped air. Stir gently with a spatula using a folding motion to deflate before loading into a piping bag.
- Melting in warm weather: Use all butter (no shortening substitute unless needed for extra stability), and keep frosted items chilled until serving time.
- Not chocolatey enough: Use higher-quality cocoa or add melted cooled chocolate (reduce cocoa powder slightly).
With these fixes, you’ll always end up with perfect, professional-looking frosting.
Delicious Variations on Classic Chocolate Buttercream
Once you’ve mastered the base recipe, experiment with these twists to keep things exciting:
- Mocha Buttercream: Dissolve 1-2 teaspoons instant espresso powder in the cream for a sophisticated coffee-chocolate combination that’s perfect for tiramisu-inspired cakes.
- Dark Chocolate Version: Replace 1/4 cup of the cocoa powder with 4 ounces of melted and cooled semi-sweet or bittersweet chocolate for an intensely fudgy result.
- Nutella Chocolate Buttercream: Beat in 1/2 to 3/4 cup Nutella after the final whip for irresistible hazelnut-chocolate flavor.
- Mint Chocolate Buttercream: Replace vanilla extract with peppermint extract (start with 1/2 teaspoon and adjust) for a refreshing holiday treat.
- Spiced Mexican Chocolate: Add 1/2 teaspoon ground cinnamon, a pinch of cayenne pepper, and a dash of nutmeg for warm, complex depth.
- Oreo Chocolate Buttercream: Gently fold in 1 cup crushed Oreo cookies after whipping for crunchy texture.
- Peanut Butter Chocolate: Swirl in 1/2 cup creamy peanut butter for a Reese’s-inspired frosting.
- Raspberry Chocolate: Add 2-3 tablespoons seedless raspberry jam and a drop of pink food coloring for fruity tang.
These variations maintain the reliable base while offering endless creativity.
Storage and Make-Ahead Tips
This frosting is incredibly versatile for planning ahead and storing:
- Room temperature: In a covered container, it keeps well for 1-2 days. Frosted items can sit out for up to 4 hours safely.
- Refrigerator: Store in an airtight container for up to 1 week. Bring to room temperature and re-whip with a splash of cream to restore fluffiness before using.
- Freezer: Portion into freezer-safe containers or zip bags and freeze for up to 3 months. Thaw overnight in the refrigerator, then let sit at room temperature briefly before re-whipping vigorously.
- Frosted cakes/cupcakes: Refrigerated frosted items last 3-5 days; frozen whole cakes keep for 2 months (wrap well to prevent freezer burn).
Always label containers with the date for easy reference.
Best Ways to Use Chocolate Buttercream Frosting
This versatile frosting shines in countless applications:
- Classic pairings: Slather on rich chocolate cake for double chocolate decadence, spread on vanilla or yellow cake for beautiful contrast, or use traditionally on red velvet cupcakes.
- Cupcakes: Pipe tall swirls on any flavor base – chocolate, funfetti, banana, or carrot for crowd-pleasing treats.
- Layer cakes: Ideal for filling between layers, applying a crumb coat, and finishing with smooth sides or textured designs.
- Sheet cakes and brownies: Spread generously over 9×13 pans for easy potluck desserts.
- Other creative uses: Fill whoopie pies, sandwich between cookies, use as a dip for fresh strawberries, or even dollop on warm brownies for an instant upgrade.
For special occasions, combine with ganache drips, sprinkles, or fresh berries for stunning presentation.
Frequently Asked Questions
Can I use salted butter?
Yes – simply omit the added 1/4 teaspoon salt to avoid over-salting.
Will this frosting crust for smooth decorating?
Yes, it forms a light crust after 30-60 minutes, making it excellent for the viva paper towel method or fondant covering.
Can I make this vegan?
Absolutely – substitute vegan butter sticks and full-fat coconut milk or oat cream for the heavy cream.
How much frosting does this make exactly?
Approximately 3 cups – enough for 24 generously piped cupcakes, one 9×13 sheet cake, or an 8-9 inch two-layer cake with filling and covering (plus a little leftover).
Can I substitute milk for cream?
Yes, but the result will be slightly less rich and creamy. Whole milk works best.
Is this stable in heat?
It’s quite stable for several hours at room temperature, but for outdoor summer events, consider adding a small amount of shortening for extra heat resistance.
Can I color this frosting?
Yes, but start with gel food coloring and add gradually – the cocoa base will darken most colors.
Final Thoughts: Why You’ll Love This Recipe Forever
This chocolate buttercream frosting recipe is reliable, deeply delicious, and endlessly versatile – the kind of go-to you’ll reach for time and again, whether baking for birthdays, holidays, bake sales, or just a weeknight treat. Its perfect balance of rich chocolate flavor, silky smooth texture, and easy preparation makes it a true baker’s staple that consistently delivers professional results at home.
Master this recipe, and you’ll have the confidence to tackle any cake or cupcake project with stunning, mouthwatering frosting that tastes as amazing as it looks.
Happy baking – your desserts are about to reach a whole new level of deliciousness!