
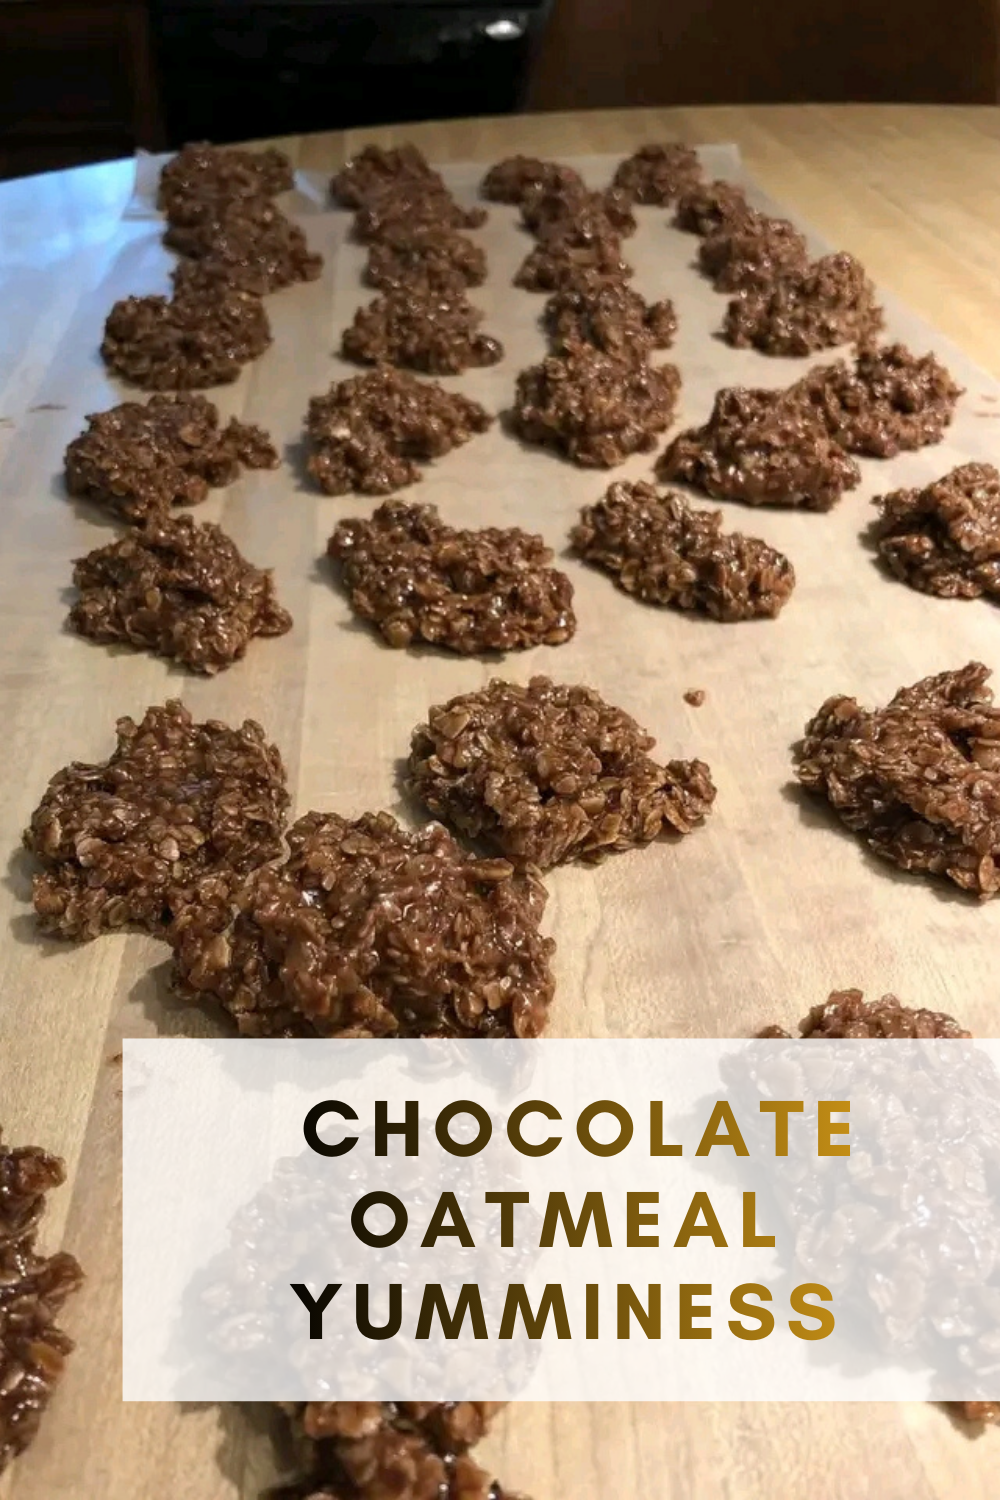
Classic Chocolate Oatmeal No-Bake Cookies
(The Ultimate “Chocolate Oatmeal Yumminess” Recipe)
These fudgy, chewy, intensely chocolatey no-bake cookies have been a staple in kitchens across America for decades — and for very good reason. They come together in under 15 minutes, require exactly one pot and a spoon, and deliver that perfect marriage of rich cocoa flavor and hearty oatmeal texture. No oven, no fancy equipment, no waiting for dough to chill. Just pure, unapologetic cookie joy.
Whether you grew up calling them “preacher cookies,” “cow patties,” or simply “those chocolate oatmeal drop cookies Mom made when it was too hot to turn on the oven,” one bite will immediately transport you back to childhood. Let’s make them even better than you remember.
Full Recipe (Makes about 30–36 cookies)
Ingredients
For the chocolate fudge base:
- 2 cups (400 g) granulated sugar
- ½ cup (1 stick / 113 g) unsalted butter, softened slightly and cut into pieces (salted butter works too — just reduce added salt)
- ½ cup (120 ml) evaporated milk (from a can — NOT sweetened condensed milk)
- 3 tablespoons (18 g) natural unsweetened cocoa powder (see notes for Dutch-process option)
- 1 teaspoon pure vanilla extract
- ½ teaspoon fine sea salt or table salt (brings out the chocolate flavor beautifully)
For the oatmeal mixture:
- 3 heaping cups (300–330 g) quick-cooking oats (see oat guide below — old-fashioned can work in a pinch)
- Optional add-ins (pick your own adventure):
- ¾ cup (75 g) shredded sweetened coconut
- ½ cup (60 g) chopped toasted pecans or walnuts
- ½ cup (90 g) peanut butter (creamy or crunchy) — stirred in off the heat
- ¼ teaspoon espresso powder (deepens chocolate flavor without tasting like coffee)
- Pinch of cinnamon or cayenne for a subtle kick
Equipment You’ll Need
- Medium-large heavy-bottomed saucepan (3–4 quart works perfectly)
- Wooden spoon or silicone spatula
- Baking sheets lined with parchment paper or wax paper
- Cookie scoop (1½–2 tablespoon size) or two spoons
- Timer (very important — we’re boiling exactly 2 minutes)
Step-by-Step Instructions (With All the Tips & Tricks)
- Prep your drop zone
Before you even touch the stove, line two large baking sheets with parchment or wax paper. This is non-negotiable — the cookies set fast and you’ll be dropping them quickly. - Measure everything in advance
Have your quick oats measured and sitting in a large heat-safe bowl right next to the stove. If you’re adding peanut butter or nuts, have those ready too. Once the boiling is done, things move lightning fast. - Combine the fudge base
In your saucepan, add the sugar, butter (cut into chunks), evaporated milk, cocoa powder, vanilla, and salt. Yes — vanilla goes in before boiling. The flavor mellows and rounds out beautifully. - Heat and stir
Place over medium heat and stir constantly until the butter melts and the mixture is smooth. You’re looking for a glossy, homogeneous chocolate liquid. - Bring to a full rolling boil
Increase heat to medium-high. Keep stirring (scraping the bottom) until the mixture comes to a full rolling boil — meaning big bubbles all across the surface that don’t stop when you stir. - Start your timer: Boil exactly 2 minutes
This is the make-or-break moment.
- Under 2 minutes → cookies stay gooey and never set.
- Over 2 minutes → they can turn dry and crumbly.
Set a timer the second it hits that rolling boil and keep it bubbling hard for exactly 120 seconds while stirring gently.
- Remove from heat immediately
Pull the pan off the burner. If adding peanut butter, stir it in now — it will melt beautifully. - Add the oats (and any extras)
Dump in the quick oats all at once. Stir vigorously until every oat is coated and the mixture pulls together into a thick, fudgy mass. It should look like very stiff cookie dough. - Drop the cookies
Working quickly (it starts setting within a minute or two), use a cookie scoop or two spoons to drop generous mounds onto your prepared sheets. Aim for 1½–2 tablespoons per cookie. They don’t spread, so you can place them close together. - Let cool & set
Let sit at room temperature for 20–30 minutes until firm. Speed set in the fridge if your kitchen is warm or humid. - Devour
Peel off the paper and enjoy the fudgy-chewy perfection.
The Science & Secrets Behind Perfect No-Bakes
Why these work (and why sometimes they don’t):
- The 2-minute boil is actually a soft-ball stage fudge shortcut. The sugar syrup reaches approximately 230–235 °F, which is exactly where it needs to be to set up firm but still soft when cooled.
- Evaporated milk provides just the right amount of liquid and milk solids without watering down the mixture the way regular milk would.
- Quick oats are essential because they absorb moisture fast and create that signature chewy (never gritty) texture. Old-fashioned rolled oats can work, but the cookies will be chunkier and sometimes drier.
Troubleshooting Guide
Problem: Cookies stay sticky and never set
Causes & Fixes:
- Didn’t boil long enough (most common)
- Used regular milk instead of evaporated
- Measured ingredients incorrectly (especially oats — pack them lightly)
- High humidity day → pop in fridge or add ¼ cup extra oats next time
Problem: Cookies are dry and crumbly
Causes & Fixes:
- Boiled too long (even 30 seconds makes a difference)
- Used old-fashioned oats without adjusting liquid
- Measured too many oats
Problem: Grainy or sugary texture
Cause: Sugar didn’t fully dissolve before boiling
Fix: Stir over lower heat longer before cranking it up
Variations to Keep Things Exciting
- Classic Peanut Butter No-Bakes
Stir ½–¾ cup creamy peanut butter in right after removing from heat. - Coconut Chocolate No-Bakes (a.k.a. “Mounds Bar Cookies”)
Add ¾ cup sweetened shredded coconut with the oats. - Mocha No-Bakes
Add ½ teaspoon espresso powder with the cocoa. - Spicy Mexican Chocolate Version
Add ¼ teaspoon cinnamon + pinch of cayenne. - Healthier(ish) Version
Reduce sugar to 1½ cups, use coconut oil instead of butter, almond butter instead of PB, and add chia seeds or flax. - Monster No-Bakes
Stir in mini marshmallows, chopped pretzels, and chocolate chips off the heat.
Storage & Freezing
- Room temperature: 4–5 days in an airtight container (layer with parchment)
- Refrigerator: Up to 2 weeks (they get slightly firmer)
- Freezer: Up to 3 months. Freeze in a single layer first, then transfer to a zip-top bag. Eat frozen or thaw 10 minutes.
Frequently Asked Questions
Q: Can I use regular milk instead of evaporated?
A: You can, but results are inconsistent. If you must, use ½ cup minus 1 tablespoon milk + 1 tablespoon extra butter.
Q: Can I make these vegan?
A: Absolutely! Use coconut oil or vegan butter, plant-based milk (reduce to ⅓ cup + 1 tablespoon), and maple syrup or coconut sugar (note: texture may be slightly softer).
Q: Why do some recipes call for 1 minute boil and others 2–3?
A: Altitude, humidity, and pan material all affect timing. At sea level with a heavy pan, 2 minutes is the sweet spot for most people.
Q: My cookies spread into flat puddles!
A: Too much liquid or not enough oats. Measure oats by spooning lightly into the cup (don’t pack).
A Little Nostalgia
These cookies have so many regional names because they’ve been passed down through generations, usually scribbled on index cards in church cookbooks. My own grandmother called them “Boiled Cookies” and kept the recipe taped inside her cabinet door. When the power went out during hurricanes, she’d make them on a camp stove. When we were too impatient for Christmas cookies to bake, these were our instant gratification. They’re the definition of simple ingredients creating extraordinary comfort.
So go ahead — eat one. Eat five. Tell yourself it’s practically oatmeal for breakfast. We won’t judge.
Enjoy every fudgy, chocolatey, peanut-buttery (or not) bite. You deserve it. ❤️