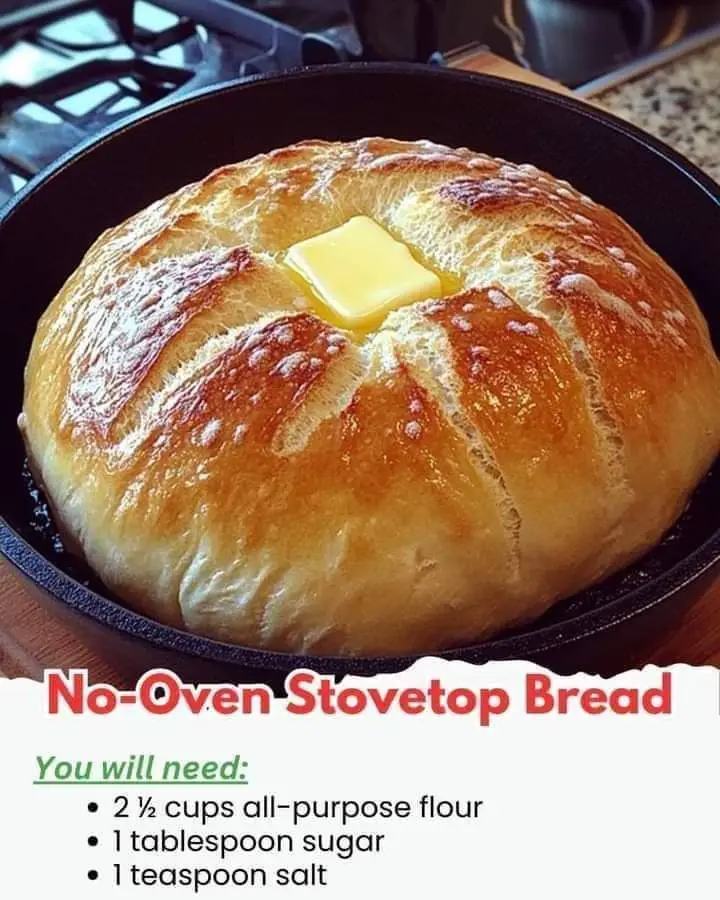
Who says you need an oven to bake delicious bread? This No-Oven Stovetop Bread is a simple and convenient recipe that delivers soft, fluffy bread right on your stovetop. It’s perfect for those without access to an oven or anyone looking for a quick, energy-efficient alternative to traditional baking.
Whether you’re enjoying it warm with butter or pairing it with a hearty soup, this bread is as versatile as it is delicious. Let’s explore how to make this delightful loaf step by step.
Ingredients: The Basics for Bread
This recipe uses pantry staples, making it both affordable and accessible:
- All-Purpose Flour (2 ½ cups): The foundation of the bread, providing structure and chew.
- Sugar (1 tbsp): A touch of sweetness that also feeds the yeast.
- Salt (1 tsp): Essential for enhancing flavor.
- Yeast (1 tsp): The magic ingredient that makes the bread rise.
- Warm Water (1 cup): Activates the yeast and binds the ingredients.
- Vegetable Oil (1 tbsp, optional): Adds softness and richness to the dough.
Optional Additions for Flavorful Variations
- Herbs & Spices: Add dried rosemary, thyme, or garlic powder to the flour for an herby twist.
- Cheese: Knead shredded cheese into the dough for a cheesy loaf.
- Seeds: Sprinkle sesame or sunflower seeds on top for a nutty crunch.
Tips for Stovetop Success
- Choose the Right Pan: A heavy-bottomed pan, such as cast iron, ensures even heat distribution and prevents burning.
- Low Heat is Key: Cooking on low heat allows the bread to cook through without burning the outside.
- Use a Lid: A tight-fitting lid creates a mini-oven effect, trapping steam to help the bread rise and cook evenly.
- Test for Doneness: Tap the bread; it should sound hollow when fully cooked.
Step-by-Step Instructions
1. Prepare the Dough
- In a large bowl, combine the flour, sugar, salt, and yeast. Mix well.
- Gradually add warm water while mixing with a spoon or your hands until the dough begins to come together.
- Knead the dough on a floured surface for 8-10 minutes until it’s smooth and elastic. If desired, add the vegetable oil during kneading for extra softness.
2. Let It Rise
- Place the kneaded dough in a greased bowl, turning it to coat the surface.
- Cover the bowl with a clean kitchen towel or plastic wrap and let the dough rise in a warm spot for about 1 hour, or until it doubles in size.
3. Shape the Dough
- Punch down the risen dough to release air bubbles.
- Shape it into a round loaf or flatten it slightly to fit the size of your pan.
4. Cook on the Stovetop
- Heat a non-stick or cast-iron pan over low heat and lightly grease it with oil or butter.
- Place the shaped dough in the center of the pan and cover it with a lid to trap steam.
- Cook for 15-20 minutes, checking occasionally to ensure the bottom doesn’t burn.
- Flip the bread carefully and cook the other side for 10-15 minutes, or until the bread is golden brown and fully cooked.
5. Serve & Enjoy
- Remove the bread from the pan and let it cool slightly on a wire rack.
- Brush the top with butter for added flavor and a glossy finish. Slice and serve warm with your favorite spreads, soups, or stews.
Why Stovetop Bread?
This method is ideal for those looking for a quick, energy-efficient way to bake without an oven. It’s also great for camping trips or emergency baking when your oven isn’t an option. Despite its simplicity, stovetop bread retains the comforting qualities of homemade bread—soft, flavorful, and endlessly customizable.
Nutritional Information (Per Slice, Approx. 8 Slices)
- Calories: 120
- Carbohydrates: 22g
- Protein: 3g
- Fat: 2g
- Fiber: 1g
Conclusion: A Versatile Delight
This No-Oven Stovetop Bread is proof that you don’t need fancy equipment to enjoy freshly baked bread. It’s a recipe that adapts to your preferences, whether you’re adding savory herbs or indulging in a cheesy version.
Give it a try and experience the joy of creating something delicious and homemade, all with the simplicity of your stovetop. Pair it with soups, sandwiches, or enjoy it plain—it’s a treat that’s sure to impress!

