
Pink Coconut Snowball Cake Bars – A Sweet Slice of Nostalgia
Some desserts are more than just sweets—they’re memories, wrapped in flavor and dusted with joy. These Pink Coconut Snowball Cake Bars are exactly that. Inspired by childhood visits to a beloved neighborhood bakery, this recipe captures the magic of pastel treats behind glass cases, the thrill of choosing the pinkest square, and the delight of biting into something that tastes like birthday cake and snowflakes all at once.
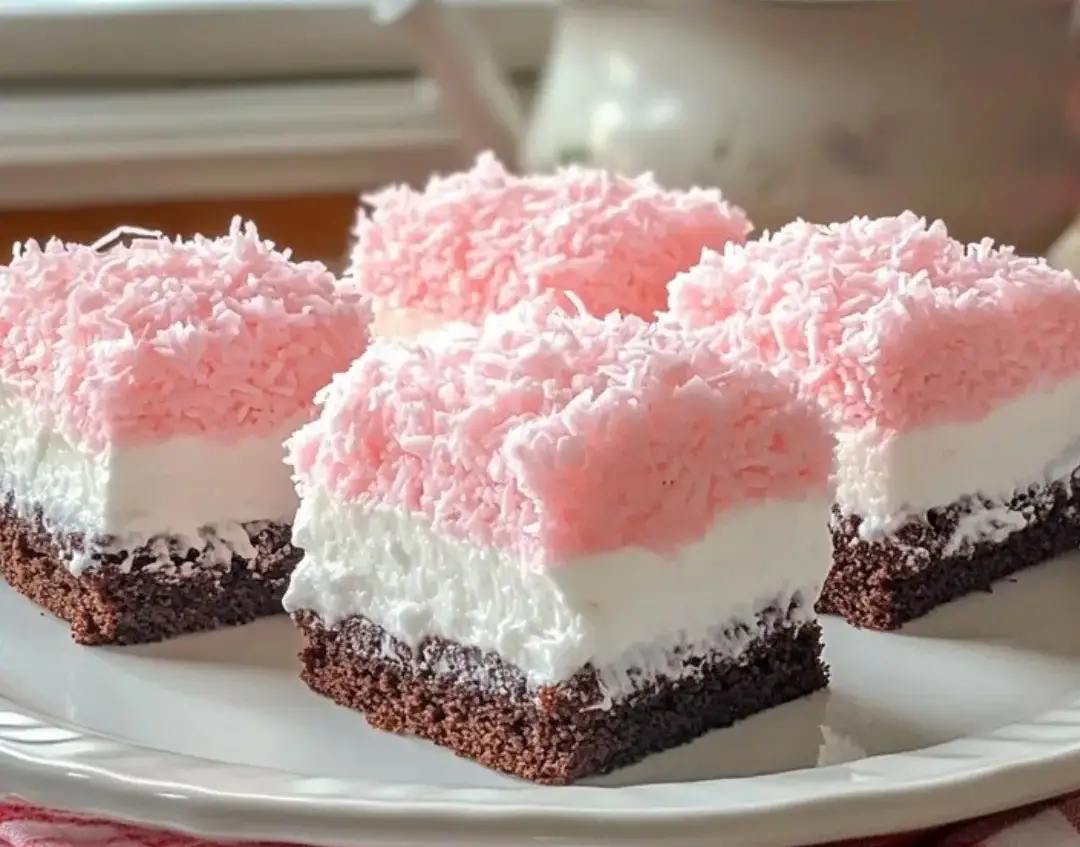
With a rich chocolate cake base, a fluffy cream layer, and a snowy blanket of pink coconut, these bars are as beautiful as they are indulgent. They’re perfect for birthdays, baby showers, Valentine’s Day, or any time you want to add a little whimsy to your dessert table.
Why You’ll Love These Bars
- Visually stunning – The pink coconut topping is eye-catching and festive.
- Flavor-packed layers – Moist chocolate cake, creamy vanilla topping, and sweet coconut.
- Nostalgic and fun – A throwback to classic bakery treats.
- Easy to make – Simple steps and no fancy equipment required.
- Perfect for parties – Slice into neat bars for a crowd-pleasing dessert.
Ingredients
This recipe yields 16 bars.
Chocolate Cake Base
- 1 cup all-purpose flour
- ½ cup cocoa powder
- 1 teaspoon baking powder
- ½ teaspoon baking soda
- ½ teaspoon salt
- ½ cup unsalted butter, softened
- 1 cup granulated sugar
- 2 large eggs
- 1 teaspoon vanilla extract
- ½ cup buttermilk
- ½ cup hot water
Tip: The hot water helps bloom the cocoa powder, intensifying the chocolate flavor.
Cream Layer
- 1½ cups heavy whipping cream
- ½ cup powdered sugar
- 1 teaspoon vanilla extract
- 8 oz cream cheese, softened (optional, for added stability and tang)
Tip: The cream cheese helps the topping hold its shape, especially if you’re serving these at room temperature.
Pink Coconut Topping
- 2 cups shredded coconut (sweetened or unsweetened)
- 2–3 drops pink food coloring
- 1 tablespoon milk (optional, for moistening if coconut is dry)
Tip: Use gel food coloring for a more vibrant pink hue without adding too much liquid.
Equipment You’ll Need
- 9×13-inch baking pan
- Mixing bowls
- Electric mixer or stand mixer
- Whisk and spatula
- Measuring cups and spoons
- Fine mesh sieve (optional for dusting)
- Offset spatula (for spreading cream layer)
- Sharp knife for slicing
Step-by-Step Instructions
Step 1: Preheat and Prep
Preheat your oven to 350°F (175°C).
Grease and line a 9×13-inch baking pan with parchment paper, leaving an overhang for easy removal.
Step 2: Make the Chocolate Cake Base
In a medium bowl, whisk together:
- 1 cup flour
- ½ cup cocoa powder
- 1 teaspoon baking powder
- ½ teaspoon baking soda
- ½ teaspoon salt
In a large bowl, cream:
- ½ cup softened butter
- 1 cup granulated sugar
Beat until light and fluffy—about 2–3 minutes.
Add:
- 2 eggs
- 1 teaspoon vanilla extract
Beat until well combined.
Alternate adding the dry ingredients and ½ cup buttermilk, mixing gently after each addition.
Finally, stir in ½ cup hot water until the batter is smooth and pourable.
Pour into the prepared pan and spread evenly.
Bake for 25–30 minutes, or until a toothpick inserted in the center comes out clean.
Let the cake cool completely in the pan.
Step 3: Prepare the Cream Layer
In a mixing bowl, beat 8 oz softened cream cheese until smooth (if using).
Add:
- 1½ cups heavy cream
- ½ cup powdered sugar
- 1 teaspoon vanilla extract
Whip until light, fluffy, and spreadable—about 3–5 minutes.
Spread the cream mixture evenly over the cooled cake using an offset spatula.
Step 4: Make the Pink Coconut Topping
Place 2 cups shredded coconut in a bowl.
Add 2–3 drops pink food coloring and mix with a spoon or gloved hands until evenly tinted.
If the coconut seems dry, add 1 tablespoon milk to help it stick.
Sprinkle the pink coconut generously over the cream layer, pressing lightly to adhere.
Step 5: Chill and Slice
Refrigerate the assembled cake for at least 1 hour, or until the cream layer is set.
Use the parchment overhang to lift the cake from the pan.
Slice into 16 neat bars using a sharp knife, wiping the blade clean between cuts for tidy edges.
Serve chilled and enjoy!
Time & Yield
- Prep Time: 30 minutes
- Bake Time: 30 minutes
- Chill Time: 1 hour
- Total Time: ~2 hours
- Yield: 16 bars
- Calories: ~250 per bar (approximate)
Tips for Success
- Use room temperature ingredients for a smooth batter and cream layer.
- Don’t skip the chill time—it helps the layers set and makes slicing easier.
- Customize the color: Use pastel blue or lavender for different occasions.
- Add texture: Mix chopped marshmallows or white chocolate chips into the coconut.
- Make ahead: These bars keep well in the fridge for up to 4 days.
Variations to Try
- Strawberry Shortcake Bars: Use a vanilla cake base and strawberry jam under the cream layer.
- Chocolate Mint Snowballs: Add peppermint extract to the cream and tint the coconut green.
- Tropical Twist: Add crushed pineapple to the cream layer and use toasted coconut on top.
- Holiday Version: Use red and green coconut for a festive Christmas look.
- Gluten-Free Option: Use a gluten-free flour blend in the cake base.
Perfect for Celebrations
These bars are ideal for:
- Birthday parties
- Baby showers
- Valentine’s Day
- Easter brunch
- Bake sales or potlucks
Serve them on a pastel platter or wrap them in parchment and twine for a charming homemade gift.
Final Thoughts
These Pink Coconut Snowball Cake Bars are more than just a dessert—they’re a memory, a moment, a mood. With their rich chocolate base, dreamy cream topping, and whimsical coconut finish, they’re a sweet way to celebrate the people and places that make life special. Whether you’re baking with a loved one or recreating a cherished tradition, these bars are sure to bring smiles and spark stories.