
Special Italian Cream Puffs with Custard Filling: A Traditional Pastry Delight
Italian cuisine has long been celebrated for its balance of simplicity and elegance, with each dish offering a taste of regional heritage and culinary artistry. Among the many iconic treats that Italy has given the world, cream puffs with custard filling stand out as a truly luxurious dessert. Delicate, golden, and filled with smooth homemade custard, these Italian cream puffs represent a tradition of baking that combines technique, passion, and an appreciation for classic flavors. Whether served at family celebrations or enjoyed as an indulgent afternoon snack, this recipe for Italian cream puffs is a testament to the power of homemade desserts. In this article, we will walk through the complete process of making Italian cream puffs from scratch, including tips, variations, and insights to elevate your baking experience.
Understanding Italian Cream Puffs
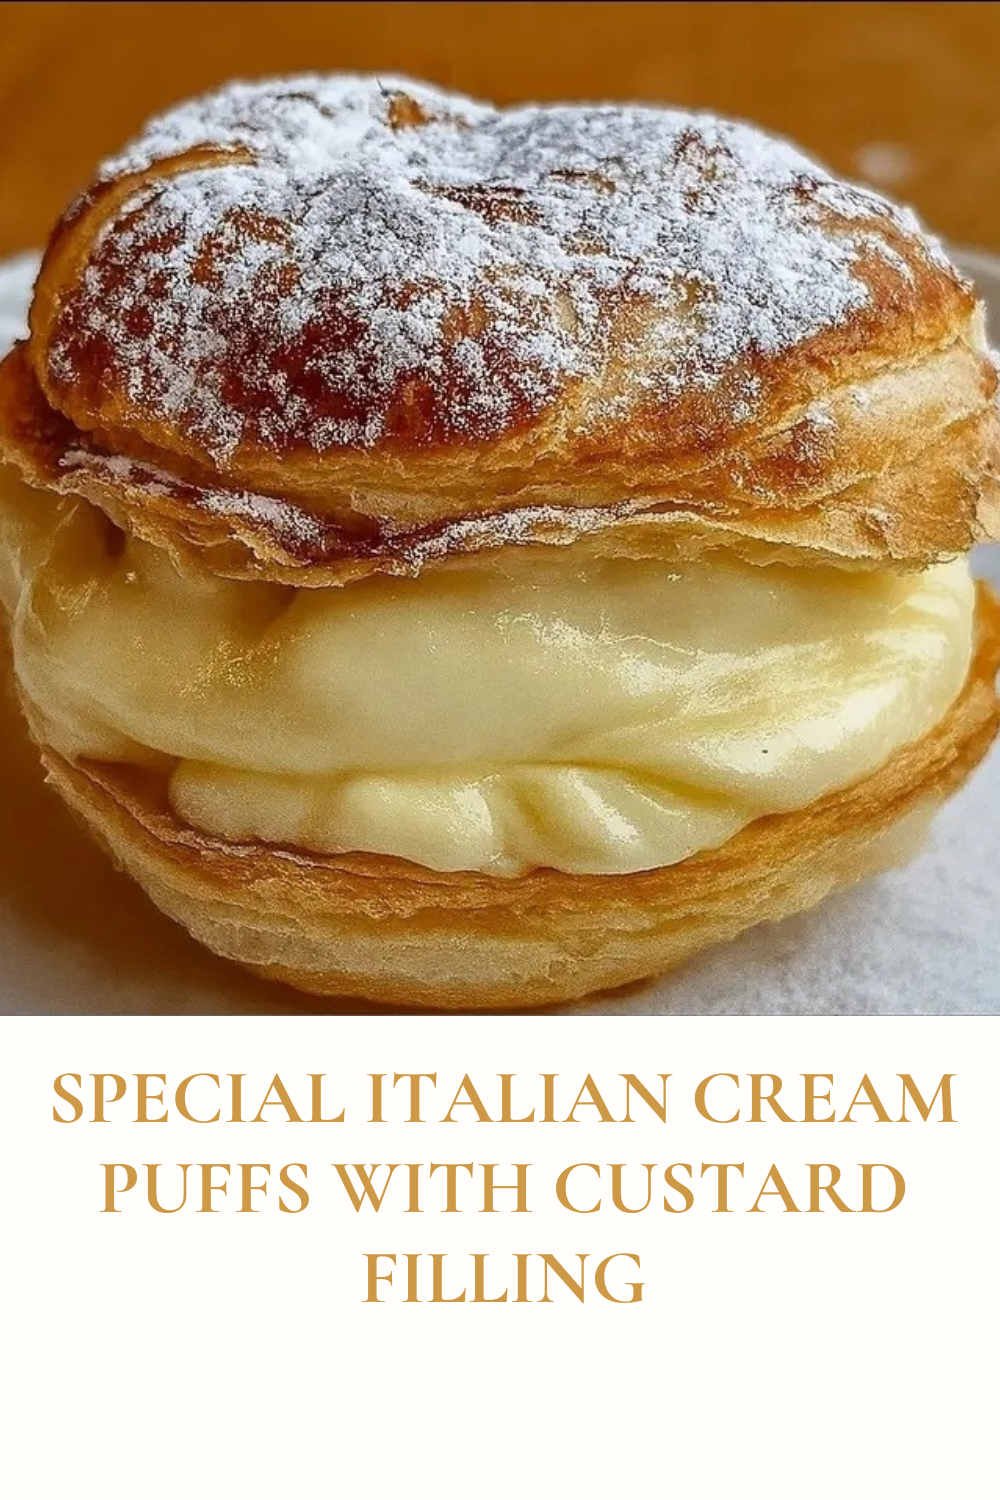
The Italian cream puff, also known as “bignè” or in some regions as “zeppole di San Giuseppe,” is a small pastry typically made with choux dough or puff pastry, and filled with a rich custard, pastry cream, or ricotta-based mixture. Though there are many regional interpretations, the essence of this pastry lies in its contrast between the crisp, airy exterior and the silky, sweet interior.
In this recipe, we use ready-made puff pastry to simplify the preparation while ensuring a flaky, golden result. The custard filling, made from scratch, adds an authentic touch and brings warmth and depth to the dessert. The final dusting of powdered sugar offers both visual appeal and a subtle sweetness that ties everything together.
Ingredients Breakdown
For the pastry:
- 1 sheet puff pastry, thawed
- Powdered sugar, for dusting
For the custard filling:
- 2 cups whole milk
- ½ cup granulated sugar
- ¼ cup cornstarch
- Pinch of salt
- 4 large egg yolks
- 2 teaspoons vanilla extract
- 2 tablespoons unsalted butter
Each ingredient plays a critical role. Whole milk provides richness, while egg yolks thicken and enrich the custard. Cornstarch helps stabilize the cream, ensuring a smooth texture. Vanilla extract gives the custard its classic flavor, and the butter adds shine and softness.
Step-by-Step Instructions
Step 1: Preheat the Oven
Start by preheating your oven to 400°F (200°C). Preheating ensures that the pastry will cook evenly and achieve the ideal crispness. Prepare a large baking sheet by lining it with parchment paper. This prevents sticking and makes for an easier cleanup.
Step 2: Prepare the Puff Pastry
Unfold the thawed sheet of puff pastry on a clean surface. Using a round biscuit or cookie cutter (approximately 2.5 to 3 inches in diameter), cut out as many circles as you can from the sheet. Place the circles on the lined baking sheet, spacing them slightly apart. To help control how much the pastry puffs up during baking, gently prick each circle with a fork a few times.
Bake the pastry rounds in the preheated oven for 15 to 18 minutes, or until they are golden brown and puffed. Remove from the oven and transfer to a wire rack to cool completely before assembling.
Step 3: Make the Custard Filling
While the pastry bakes and cools, you can prepare the homemade custard filling. In a medium saucepan, combine the milk, granulated sugar, cornstarch, and a small pinch of salt. Whisk the ingredients together until smooth. Begin heating the mixture over medium heat, stirring constantly to prevent lumps or burning.
Once the mixture starts to warm and thicken slightly, it is time to temper the egg yolks. In a separate bowl, whisk the egg yolks thoroughly. Slowly ladle a small amount of the hot milk mixture into the yolks while whisking briskly. This step, known as tempering, prevents the yolks from scrambling when added to the hot custard.
After tempering, pour the yolk mixture back into the saucepan with the rest of the milk. Continue to cook over low to medium heat, stirring constantly. The custard will thicken after about 5 minutes. You are aiming for a consistency similar to pudding. Once thickened, remove from the heat and stir in the vanilla extract and butter until fully melted and incorporated.
Transfer the custard to a bowl. To avoid forming a skin on top, press plastic wrap directly onto the surface of the custard. Chill the mixture in the refrigerator for at least 30 minutes before assembling the cream puffs. This chilling time allows the custard to set fully and makes it easier to pipe or spoon into the pastry shells.
Step 4: Assemble the Cream Puffs
When the pastry rounds are cool and the custard has chilled, it is time to assemble the cream puffs. Using a sharp serrated knife, carefully slice each puff horizontally, creating a top and bottom half. If any of the rounds are too thin to cut, you can gently hollow out the center instead.
Spoon or pipe a generous amount of the chilled custard onto the bottom half of each puff. Use a pastry bag fitted with a round tip for a more polished look, or simply spoon the custard for a rustic presentation. Gently place the top half of the pastry over the custard to create a filled puff.
Step 5: Finishing Touches and Serving
Just before serving, dust the tops of the cream puffs with powdered sugar. This adds a classic bakery-style finish and complements the rich filling. Arrange the cream puffs on a platter or cake stand for a visually stunning presentation.
Cream puffs can be served immediately or chilled slightly for a cool, refreshing treat. They pair beautifully with espresso, cappuccino, or a glass of dessert wine. For a special touch, garnish the plate with fresh berries or a drizzle of chocolate sauce.
Tips for Success
- Use cold pastry: Keep the puff pastry cold when cutting to maintain clean edges and optimal rise during baking.
- Don’t overfill: Avoid overstuffing the puffs with custard, as it can cause them to become soggy or messy.
- Customize the custard: Add a touch of lemon zest, almond extract, or even instant espresso powder to the custard for a personalized twist.
- Store properly: Store cream puffs in the refrigerator in an airtight container. Best enjoyed within 24 hours for maximum freshness.
Variations and Creative Ideas
- Chocolate Cream Puffs: Add 2 tablespoons of cocoa powder to the custard while it cooks for a rich chocolate variation.
- Fruit-Filled Puffs: Place sliced strawberries, raspberries, or peaches over the custard before adding the top puff.
- Mini Cream Puffs: Use a smaller cutter to make bite-sized versions ideal for parties or afternoon tea.
- Glazed Topping: Instead of powdered sugar, top the puffs with a thin glaze made of milk and powdered sugar, or a chocolate ganache.
Why This Recipe Stands Out
This Italian cream puff recipe stands out for its blend of tradition and accessibility. Using puff pastry simplifies the process without compromising on flavor or texture. The homemade custard is rich and authentic, offering a satisfying contrast to the light, flaky pastry. It’s a versatile recipe that you can adapt to suit any occasion or preference.
Furthermore, the act of making cream puffs from scratch brings a sense of accomplishment and joy to the kitchen. Whether you’re an experienced baker or trying this style of dessert for the first time, the result is sure to impress and satisfy.
Conclusion
Special Italian cream puffs with custard filling are more than just a dessert. They are a celebration of heritage, craftsmanship, and the joy of sharing good food. This recipe, with its crisp pastry and creamy vanilla filling, brings the warmth of an Italian bakery into your home. Whether served at a festive gathering, a family dinner, or a quiet evening with loved ones, these cream puffs offer a moment of indulgence that lingers in memory. Try this recipe and discover the beauty of baking something truly special.