
Warm Baked Apple Fritters: A Cozy, Healthier Twist on a Classic Treat
There’s something undeniably comforting about the aroma of warm cinnamon-spiced apples wafting through the kitchen on a crisp morning or chilly evening. Warm Baked Apple Fritters capture that magic perfectly — soft, tender interiors bursting with juicy apple chunks, a lightly crisp exterior kissed by golden glaze, and all the nostalgic flavors of traditional apple fritters without the hassle and heaviness of deep-frying. This recipe, inspired by viral cozy bakes (like those shared by creators embracing simple, wholesome treats), delivers bakery-quality results right from your oven.
These fritters are ideal for breakfast alongside a steaming cup of coffee, as an afternoon snack, or even as a rustic dessert. They’re quick to whip up, use everyday pantry staples, and feel indulgent while being a lighter alternative to their fried counterparts. In this detailed guide, we’ll walk through everything you need to know: from ingredient choices and step-by-step instructions to tips, variations, storage advice, and why this version has become a go-to for home bakers seeking warmth and comfort in every bite.
Why Choose Baked Apple Fritters?
Traditional apple fritters are a beloved donut-shop staple — chunks of sweet-tart apples folded into a doughy batter, deep-fried to golden perfection, and drenched in glaze. They’re undeniably delicious, but the process involves hot oil, splatters, and a fair amount of cleanup. Baking changes the game.
By baking instead of frying, you cut down on oil, making the fritters lighter and easier on the stomach. The oven creates a beautifully crisp edge through caramelization and optional broiling, while the inside stays pillowy-soft. The apples release their juices during baking, infusing the dough with natural moisture and flavor. The result? A treat that’s cozy, flavorful, and feels homemade in the best way — perfect for fall mornings, holiday brunches, or anytime you crave something warm and spiced.
Many home bakers have embraced this method for its simplicity and reliability. No special equipment is needed beyond a mixing bowl, baking sheet, and oven. Plus, you can customize the spices, apples, and glaze to suit your taste.
Ingredients (Makes about 12-15 medium fritters)
For the Fritters:
- 2 cups all-purpose flour (spooned and leveled for accuracy)
- ¼ cup granulated sugar
- 2 teaspoons baking powder
- ½ teaspoon salt
- 1 teaspoon ground cinnamon
- ½ teaspoon ground nutmeg (optional, for extra warmth)
- ½ cup (1 stick) cold unsalted butter, cut into small cubes
- ½ cup whole milk (or buttermilk for tangier results)
- 1 large egg
- 1 teaspoon pure vanilla extract
- 2-3 medium apples (about 2½ cups chopped) — Granny Smith for tartness, Honeycrisp or Fuji for sweetness, or a mix
For the Glaze:
- 1½ cups powdered sugar
- 2-3 tablespoons milk (or apple cider for more apple flavor)
- ½ teaspoon vanilla extract
- Pinch of cinnamon (optional)
Step-by-Step Instructions
- Preheat and Prep
Preheat your oven to 375°F (190°C). Line a large baking sheet with parchment paper or a silicone mat for easy cleanup and to prevent sticking. This step is crucial — parchment helps the fritters release cleanly and avoids any glaze mess on the pan. - Prepare the Dry Ingredients
In a large mixing bowl, whisk together the flour, granulated sugar, baking powder, salt, cinnamon, and nutmeg. These dry ingredients form the base of your dough, providing structure, lift, and that signature spiced warmth. - Cut in the Butter
Add the cold butter cubes to the dry mixture. Using a pastry cutter, two forks, or your fingertips, work the butter into the flour until the mixture resembles coarse crumbs with some pea-sized butter pieces remaining. This technique, similar to making scones or biscuits, creates steam pockets during baking for a tender, flaky texture. Keeping the butter cold is key — it melts in the oven, adding lift without making the dough greasy. - Mix the Wet Ingredients
In a separate small bowl, whisk together the milk, egg, and vanilla extract until smooth. Make a well in the center of the dry ingredients and pour the wet mixture in. Stir gently with a wooden spoon or spatula until just combined — the batter will be thick and slightly lumpy. Avoid overmixing, as this can lead to tough fritters. - Fold in the Apples
Peel, core, and chop the apples into small ½-inch pieces (uniform size ensures even baking). Fold them into the batter gently. The batter should be chunky and apple-heavy — that’s the hallmark of a great fritter! If it seems too dry, add a splash more milk (1 tablespoon at a time). If too wet, sprinkle in a little extra flour. - Shape and Bake
Using a large cookie scoop or ¼-cup measure, drop mounds of batter onto the prepared baking sheet, spacing them 2-3 inches apart (they spread a bit). Bake for 15-20 minutes, or until the bottoms are golden and the tops are set. A toothpick inserted in the center should come out clean or with moist crumbs. Pro Tip for Extra Crispiness — For that signature fritter crunch, switch the oven to broil for the last 1-2 minutes. Watch closely to avoid burning! - Make the Glaze
While the fritters bake, whisk the powdered sugar, milk (start with 2 tablespoons), vanilla, and cinnamon until smooth. Adjust the consistency — it should be thick but pourable. If it’s too thick, add more milk; if too thin, add more sugar. - Glaze and Serve
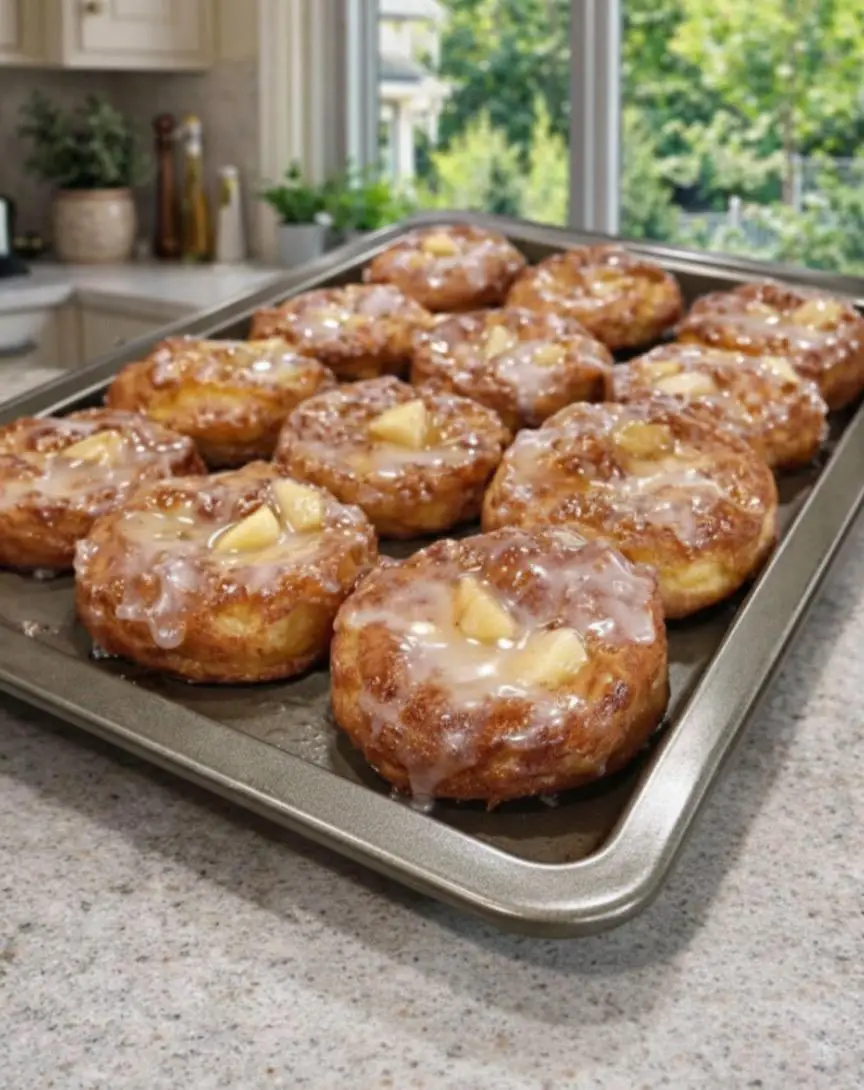
Remove the fritters from the oven and let them cool on the sheet for 5 minutes. Transfer to a wire rack. While still warm, brush or drizzle generously with glaze. The warmth helps the glaze set with a shiny, slightly crisp finish. For a double-glaze effect (highly recommended for bakery vibes), apply a second layer once the first has set slightly. Serve warm for the ultimate cozy experience — the apples will be juicy, the dough tender, and the glaze melty.
Tips for the Best Results
- Apple Selection — Tart varieties like Granny Smith balance the sweetness beautifully. Sweeter apples (Gala, Honeycrisp) work if you prefer less tang. Avoid overripe or mealy apples, as they can make the fritters soggy.
- Don’t Overmix — Lumps are good! Overworking the batter develops gluten and toughens the texture.
- Cold Ingredients — Cold butter and milk create better lift and tenderness.
- Spacing — Give fritters room to spread — overcrowding leads to uneven baking.
- Glaze Timing — Apply while warm for best adhesion and flavor infusion.
Variations to Try
- Spiced Up — Add ½ teaspoon ginger or cardamom for deeper warmth.
- Nutty — Fold in ½ cup chopped pecans or walnuts for crunch.
- Dried Fruit — Mix in raisins, dried cranberries, or chopped dates.
- Glaze Twists — Use apple cider instead of milk, or add maple syrup for a fall vibe.
- Mini Version — Use a smaller scoop for bite-sized treats — perfect for parties.
Storage and Reheating
These fritters are best enjoyed the day they’re made, when they’re at peak warmth and texture. Store leftovers in an airtight container at room temperature for up to 2 days. For longer storage, refrigerate up to 4 days.
To reheat: Place on a baking sheet and warm in a 350°F oven for 5-7 minutes. Microwave works in a pinch (20-30 seconds), but the oven revives the crisp exterior better. Avoid freezing glazed fritters — freeze unglazed ones instead, then glaze after thawing and reheating.
Nutritional Notes (Approximate per fritter)
Around 220-250 calories, depending on size and glaze amount. They’re a treat, but baking reduces fat compared to frying. The apples add fiber, vitamins, and natural sweetness.
The Joy of Baking These at Home
Few things beat the satisfaction of pulling a tray of golden, glazed fritters from the oven. The kitchen fills with the scent of cinnamon and caramelized apples, creating an instant cozy atmosphere. Whether you’re baking for family, friends, or just yourself, these warm baked apple fritters deliver pure comfort — soft, spiced, and utterly delicious.
Next time the craving hits for something sweet and warming, skip the drive-thru and try this recipe. Your home will smell like a bakery, and you’ll have the pride of knowing you made it yourself — healthier, fresher, and full of love.